Quilting a Dream Big Panel
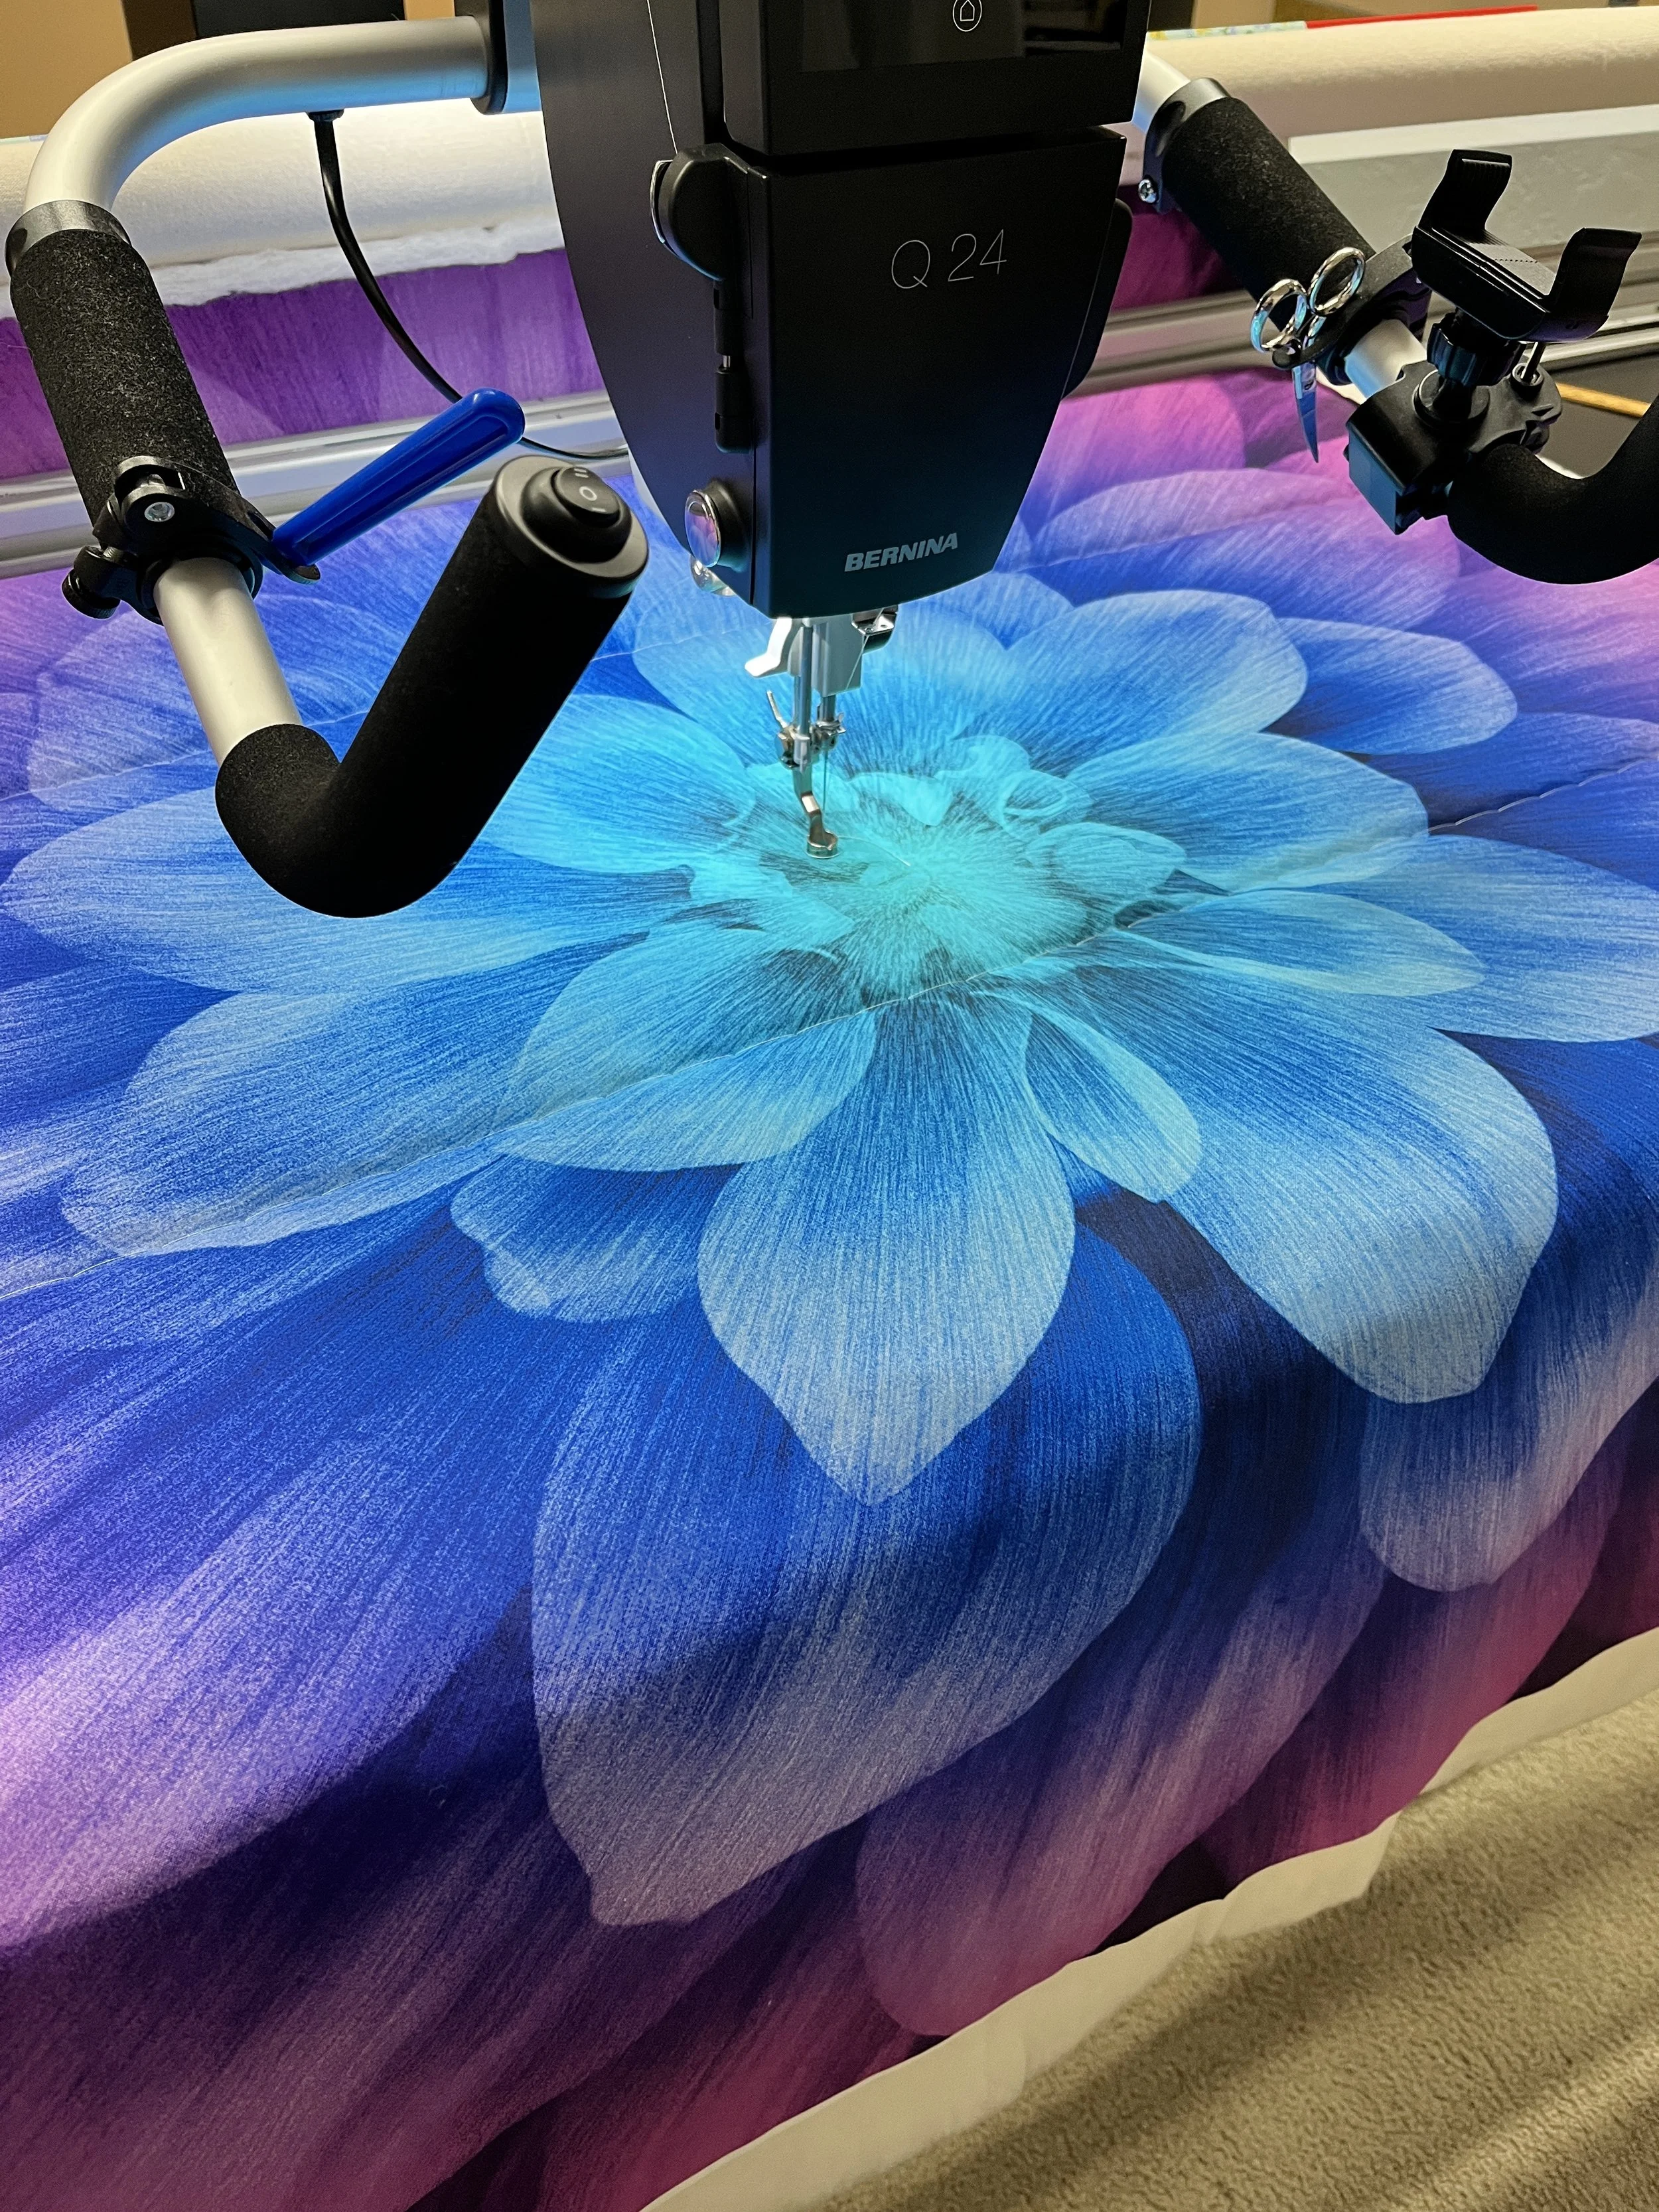
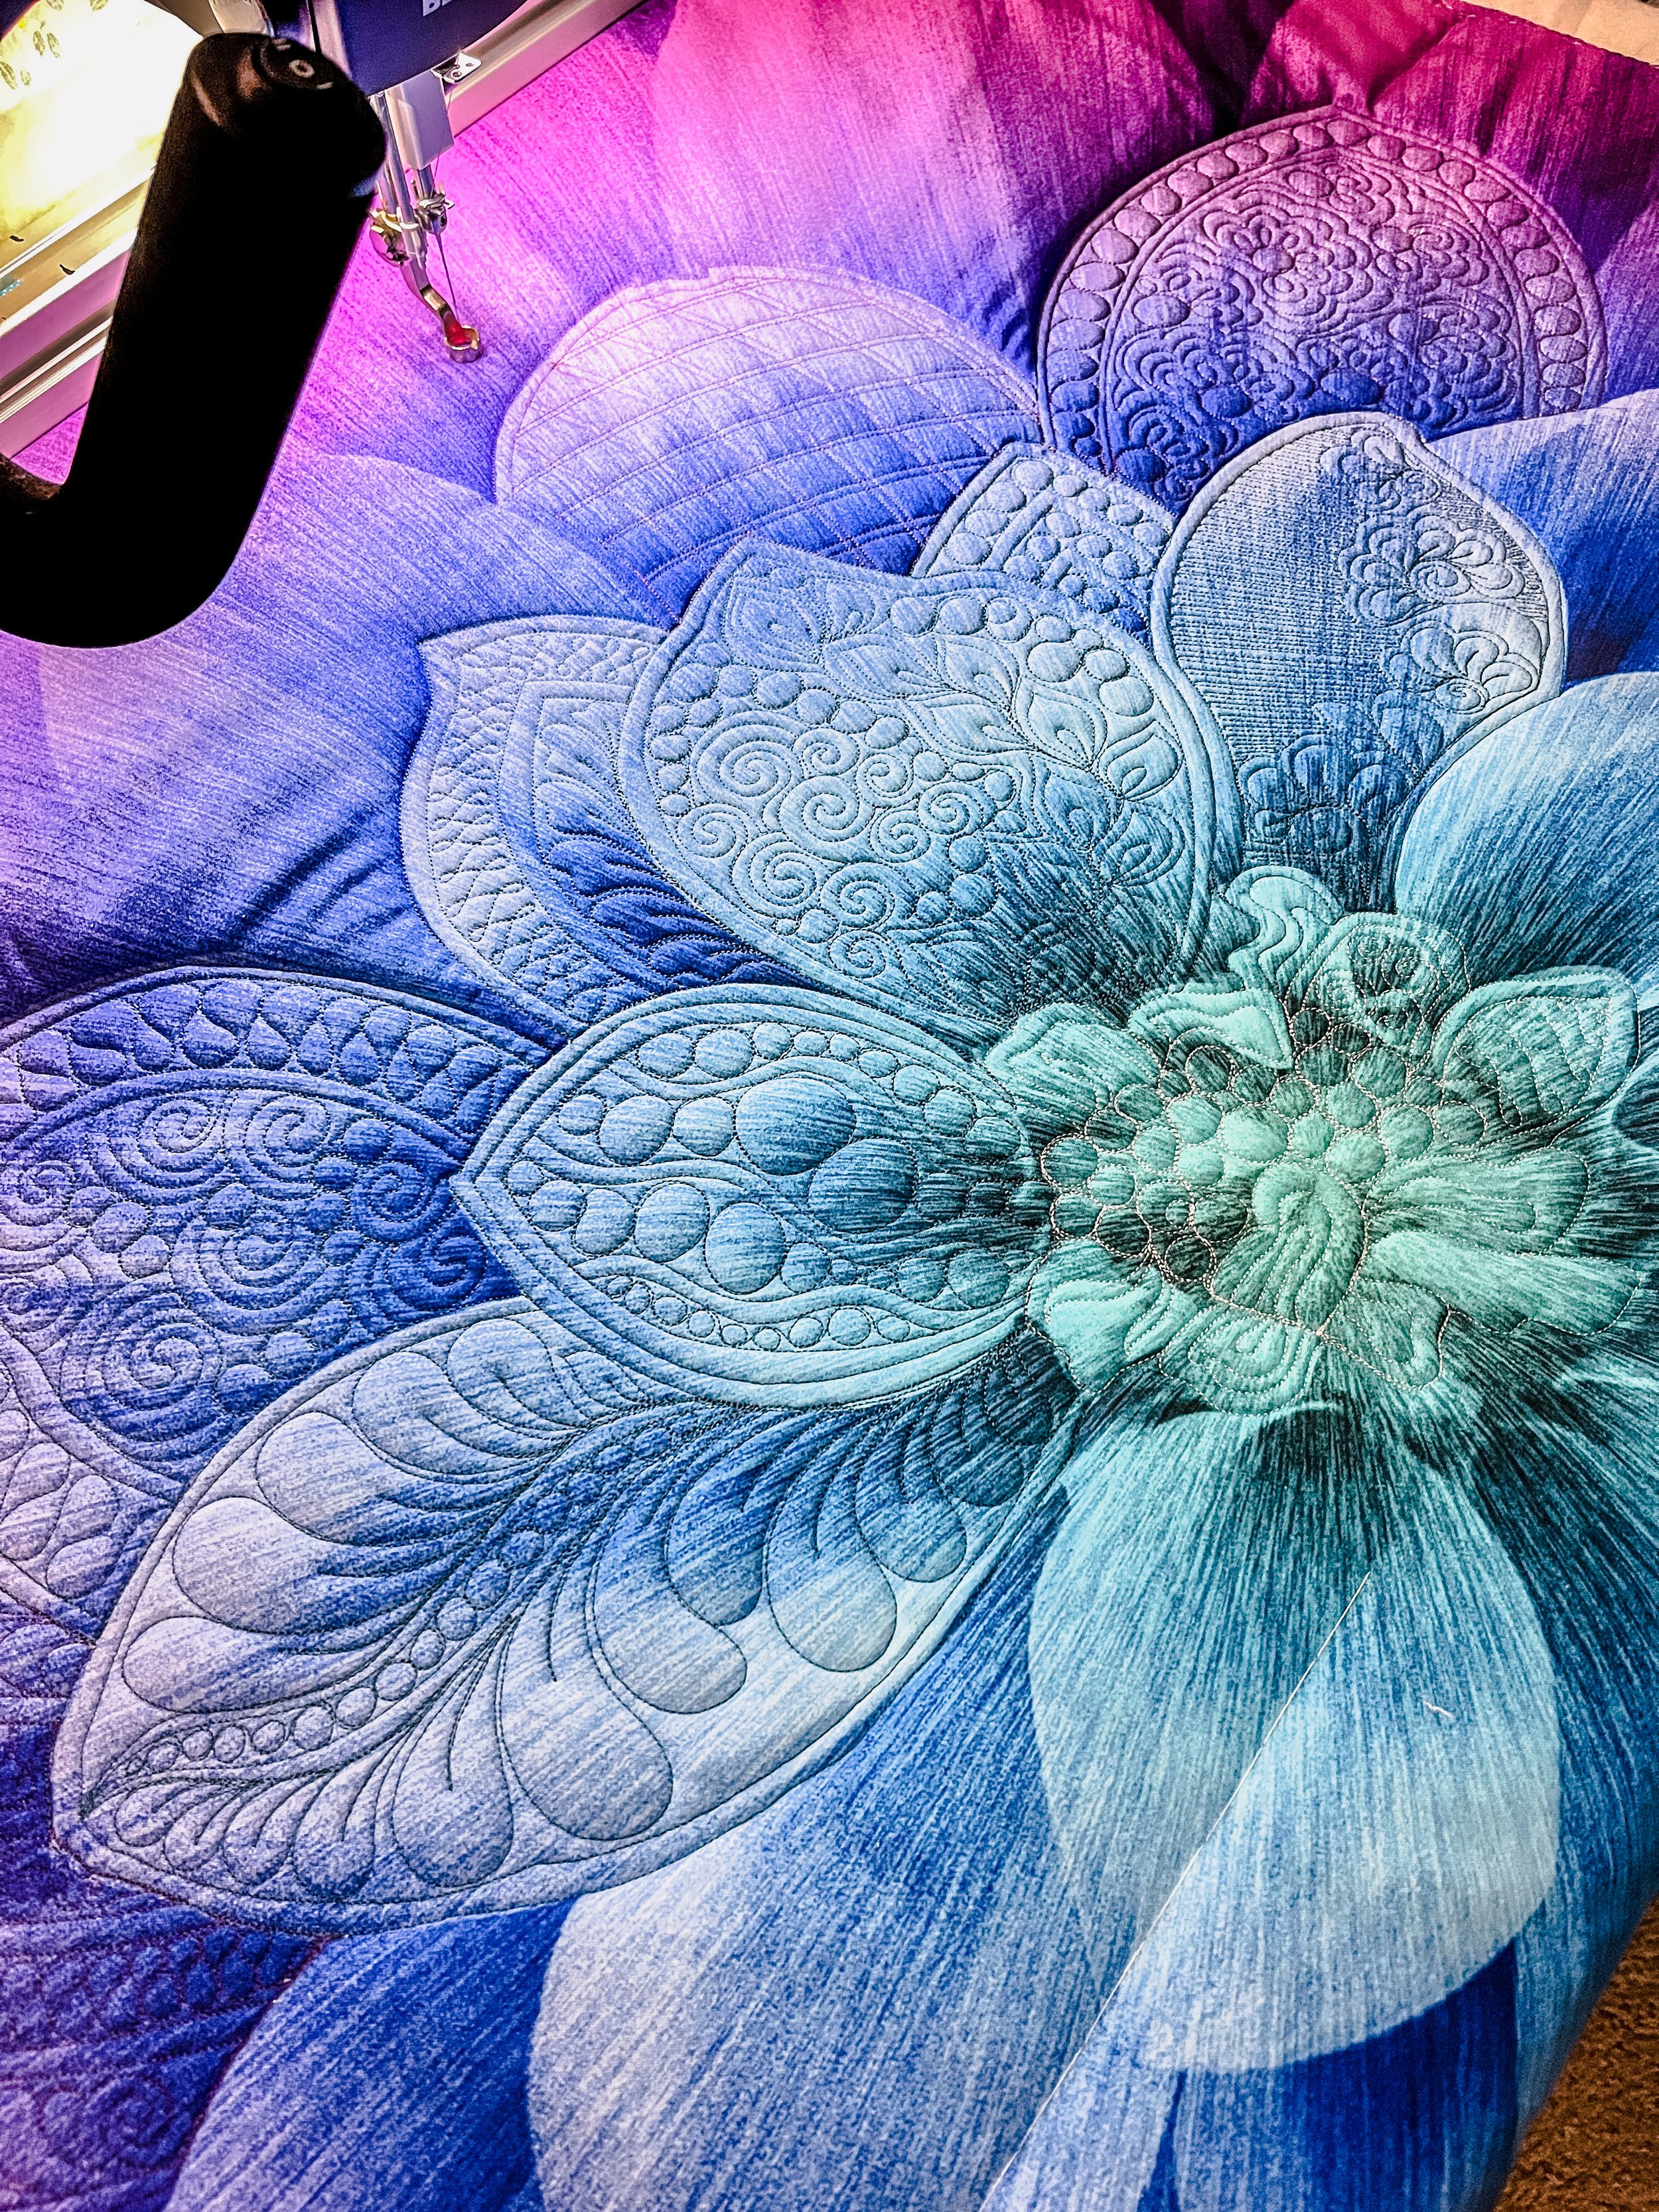
It’s been a few years since the Dream Big panels were released, and by now, they’ve been shared all over social media. But no matter how many I see, they still captivate me! This is my third one—and I have three more waiting in the wings! In this post, I’ll share what makes these panels so special to me and walk you through how I quilt them. If you're looking for more details on quilting Dream Big, be sure to check out this post (How to Quilt a Dream Big Panel) too!
Perfect Bridge between Practice and Performance
I believe uilting is, in many ways, an art performance. When I was in college as a music student, I learned the importance of bridging practice and performance. At that time, my ultimate goal was to perform music for an audience. While I practiced diligently at home and school, that alone wasn’t enough to prepare me for the stage.
Before major events, I sought smaller performance opportunities—playing in settings like churches, family gatherings, or weddings—where I could ease into the spotlight. Similarly, in quilting, the Dream Big Panel serves as an ideal stepping stone. It helps prepare you for big projects like customer quilts or your own masterpieces, offering a way to transition smoothly after practicing on scrap fabrics.
The Dream Big Panel works beautifully with both traditional and modern designs, and it’s perfect for practicing techniques like basic ruler work, grid work, and so on. It’s a great tool to build confidence and skill. If you’re feeling overwhelmed about moving from practice to larger projects, I highly recommend quilting a couple of these panels—it’s the perfect way to bridge the gap!
Quilting a Dream Big Panel
2. Sharable
Like many quilters, I’m often asked what I do with all my quilts! While I’m not going into details here (check out this post for more on the quilting process), I do want to share what I do with my Dream Big Panels.
In short, I donate them to organizations I support for their auctions. To non-quilters, these panels often feel more like “art” than traditional quilts. Even though they’re easier to make than pieced quilts, people are always amazed by their stunning look and texture. Of course, I also quilt a few for myself to enjoy!
3. Fun to Quilt!
Batting
Yay! If you decided to quilt one, here is how I do it. First, I like to use 80/20 on the bottom and wool batting on top. Adding 80/20 helps holing the shape better than just using wool batting.
Threads
I have used Aurifil 50, Glide 40, and SoFine 50. All works well, but I like to use Aurifil or Glide.
Basting
First, I baste around the edges using 1/4” basting stitch, then using 1” stitch baste horizontally every 6-7 inches to prevent puckering. I take off the baste as I go.
Quilting & Design
I look for inspiration on IG. There are so many motifs you can try on this panel that you are never going to be out of ideas. (I really like how Julia Quiltoff did her panels!)
Note that this is a great way to practice all sorts of filler designs too! If you follow Angela Walters, this is a perfect opportunity to practice her designs. And, of course, feathers! You can literally quilt the entire panel only with feathers, and that is my goal for my next one!
When I quilt each petal, I like to trace and echo (1/4”) on each one. Also, I found that adding another echo inside (about 3/4”-1” depending on the petal size) gives a richer and more distinguished look.
I also quilt from the middle to the half top and move to the half bottom to keep it squared, and no surprise at the end.
I hope you find this post useful, and have fun with Dream Bigs!
Thank you for reading!
Kate


