Hexagon Flowers-Tips for English Paper Piecing (EPP)
Recently, I kind of fell in love with Hexagon Flowers. Thanks to Emma Jones from Vintage Sewing Box, I was motivated to use Hexagon Flowers in my projects.
Here in this post, I will share a few things I learned from making Hexagon Flowers using English Paper Piecing (EPP) technique.
1. Tools
Generally, you will need template, glue stick, hand stitch needle, thread, scissor, iron, and, of course, beautiful fabric pieces!

Let’s talk about Glue Stick first.
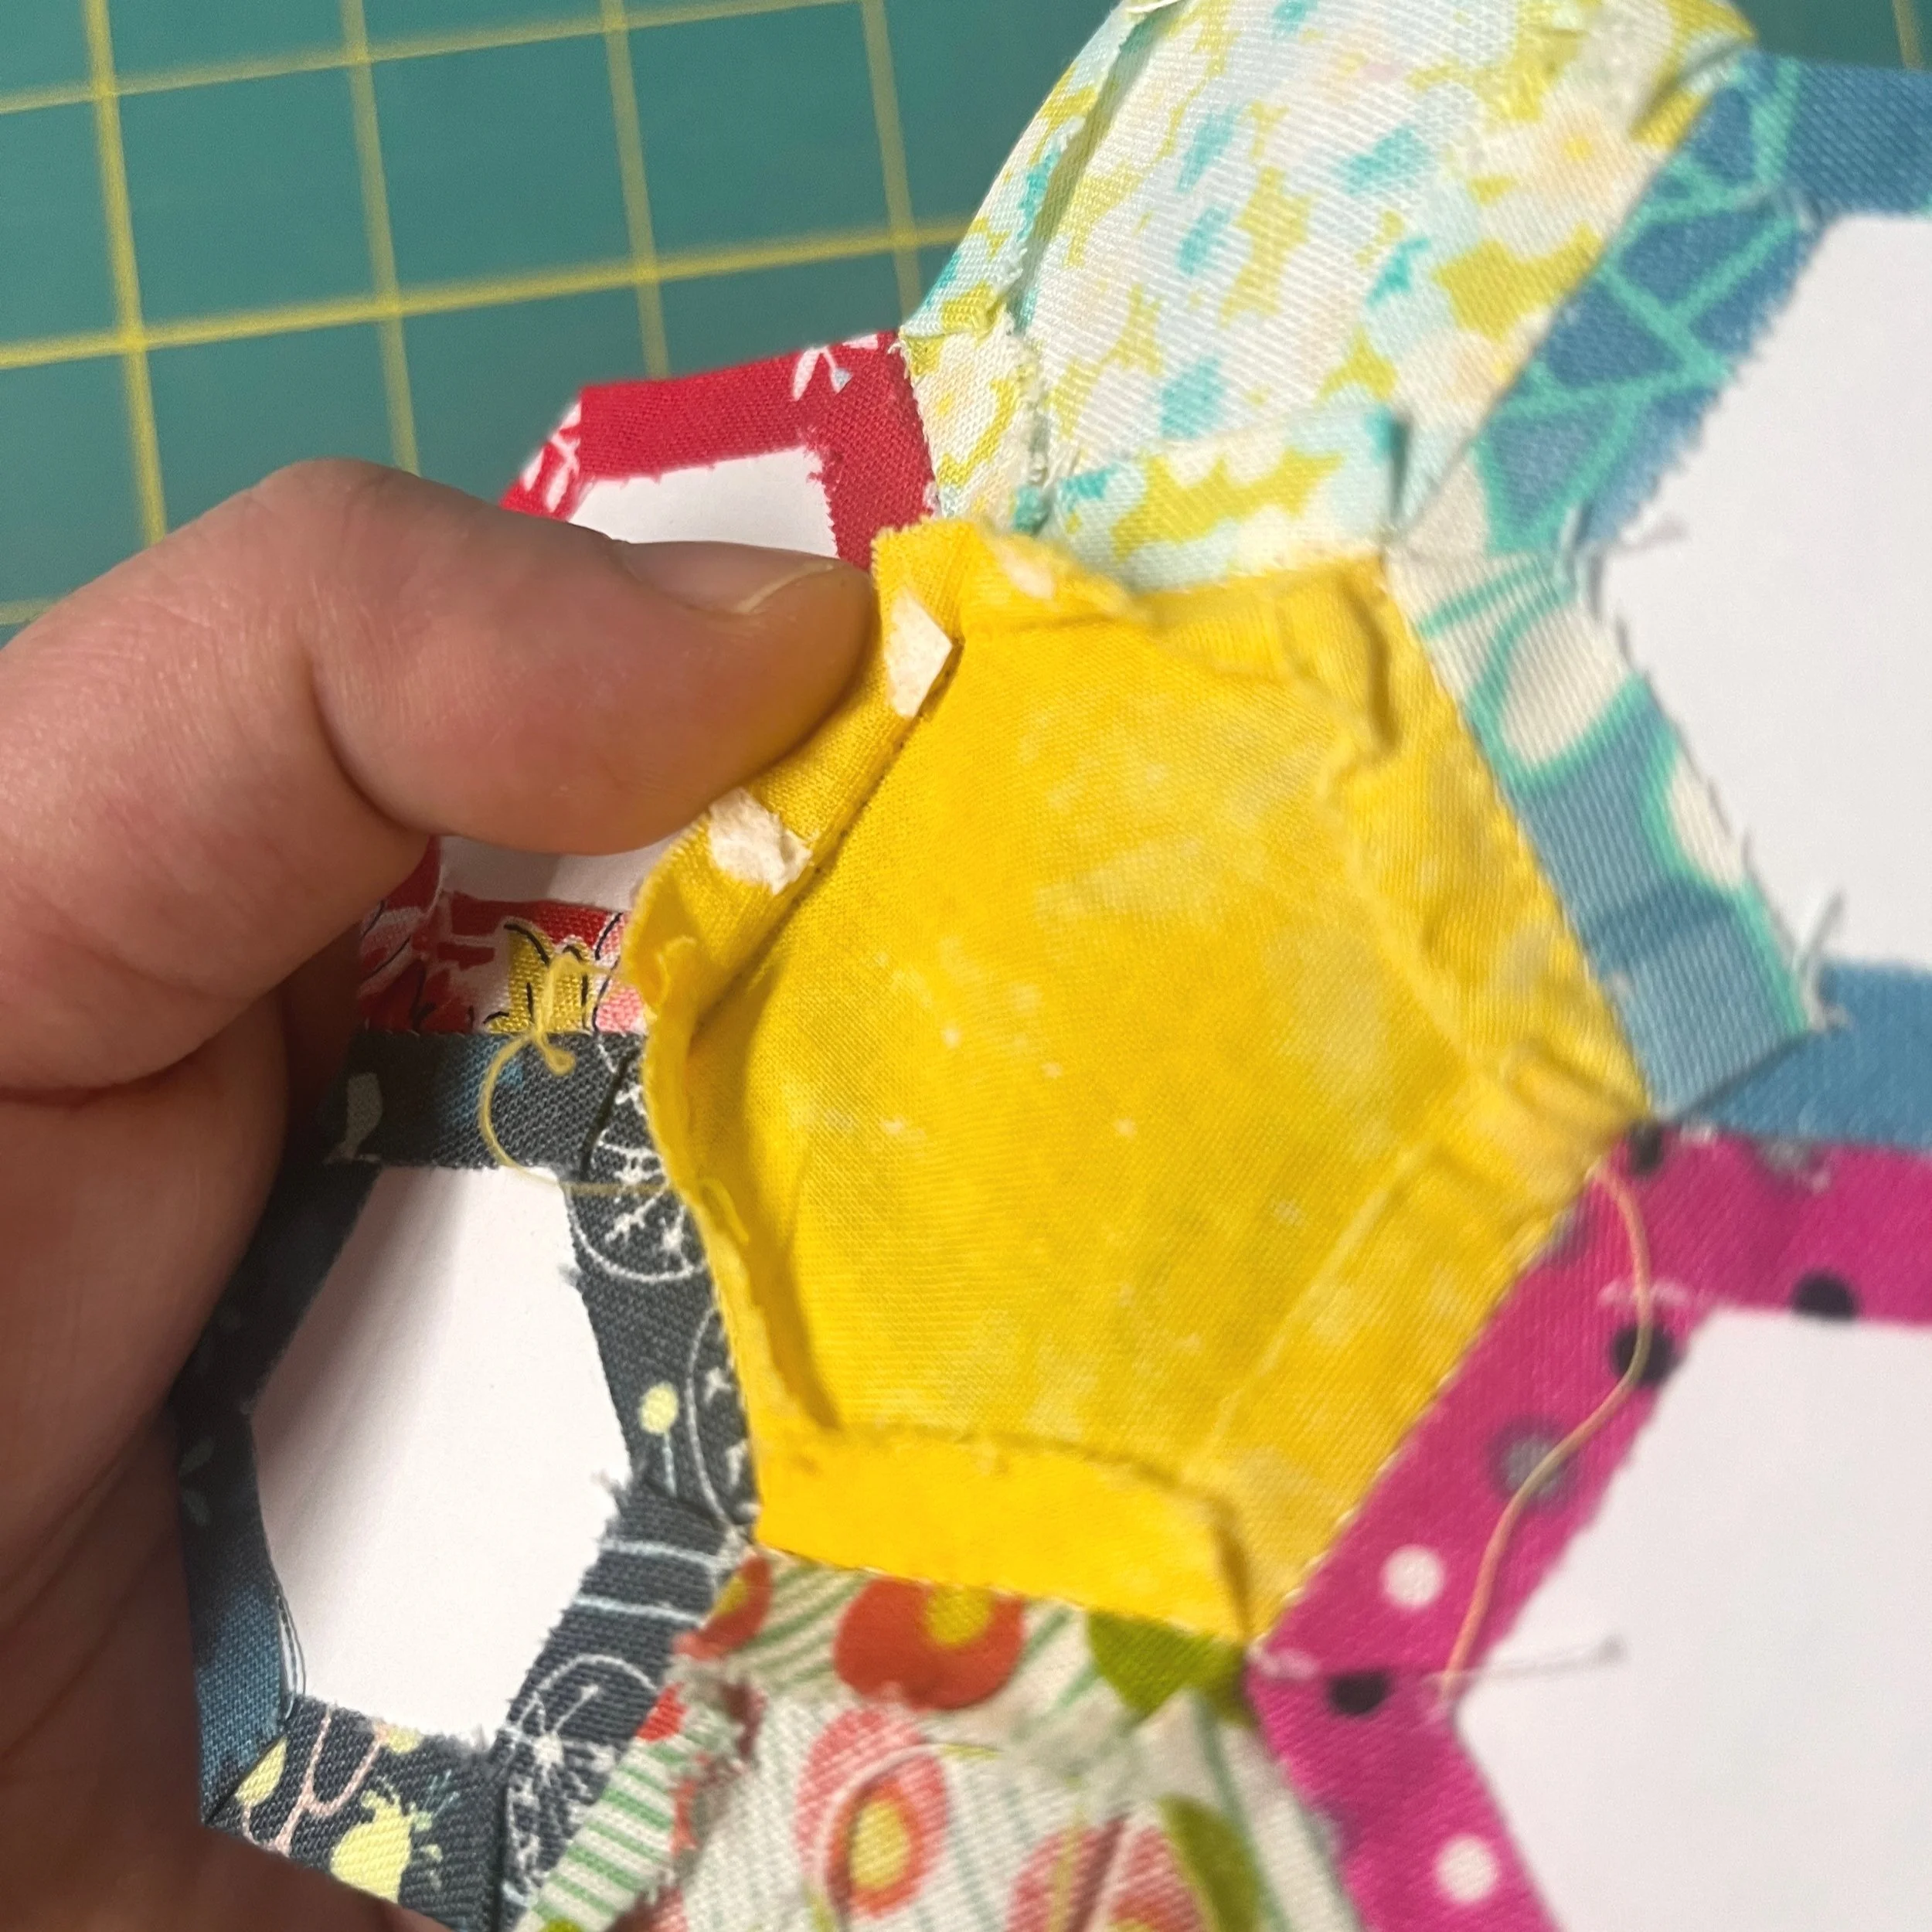
- Regular glue stick or fabric glue stick? - I use Elmer glue sticks often when I sew - installing a zipper, appliquéing, or positioning motifs. It is cheaper than fabric one, non-toxic, and washable. So, I used Elmer’s glue stick with card stock to make hexagon petal without much thought. But it was a Big NO NO. And I hope you don’t make the same silly mistake I made. What will happen is that the paper will tear off and leave a layer of paper on the fabric when you take it off. Also, the edges of the seams will fray, as seen in the photo below, which I found difficult to iron and shape back.
If you are using Iron-on or leave-on type of paper, I would use Elmer’s. But if you are using paper templates that you need to take off later, DO NOT use Elmer’s! The combination of card stock and the fabric edge gave me a good deal of struggling time…
So, make sure to use a fabric glue stick if you are using paper templates. My favorite product is Sewline Fabric Glue Pen.

Next, we need to consider the templates.
- Making your own paper template - When I tried the first set of Hexagons, I used cardstock and printed the templates from my home printer. Then, of course, I had to cut out each hexagon. Since card stock has good stiffness, it really held the shapes crisply. However, it was time-consuming to cut out each piece. Also, when you cut them manually, not using a die cutter, no matter how accurately you cut, the pieces are slightly different. So, when you put pieces together, you will find some corners and edges don’t match perfectly as you expected.
Although some people say the paper template pieces can be used again, it wasn’t working for me. See, taking off the paper pieces after they are done is not easy and is again time-consuming. And, after gluing and stitching, the template edges got raggy as well.
I only recommend using paper if you make a few hexagon pieces for your projects.
- Iron On - This is my favorite way of making templates. I purchased Iron On hexagon pieces by Hugs 'N Kisses from FatQuarterShop, and I like it a lot! They have different sizes and shapes for your EPP projects.

The best thing about using Iron on is that you can leave the template pieces with fabric! No taking off the pieces 🤩 .
It is easy to apply - just iron it on your fabric, shiny side down, and manipulate. This Oliso Mini iron is a perfect choice for this task.

I purchased a couple sizes that I think I would use the most - 1” and 1/2”. And, I am very happy with the results.
2. Piecing
What is your best way of piecing them together-by hand or machine?
- Hand Piecing - I used to hand piece a lot. I found it relaxing and calming. It is also good way to keep your hands busy when you watch your favorite movies or TV shows!
But, as getting older, I am just not motivated to hand sew any more. I 100% agree on the beauty of hand stitching, but it hurts my fingers, shoulders, and eyes too much.
If you can, I recommend hand piecing since it gives you authentic beautiful looks. But, if you are like me, let’s consider machine piecing 😉.
- Machine Piecing - With the reasons I mentioned above, I prefer machine piecing. It is faster, and still gives you find looks.

To machine piece, I use small zigzag stitches with invisible thread for the top and fine thread for bobbin. I also use Schmetz 60/8 size needle to minimize the needle marks. You might have to adjust tension setting to use invisible thread, but, it is definitely worth it!

I hope you find this post helpful, and let me know if you have any questions!
Thanks!