A Finished Appliqué Quilt Top: What Worked, What I’d Change, and What I Learned
A Long-Awaited Hand Appliqué Quilt Top
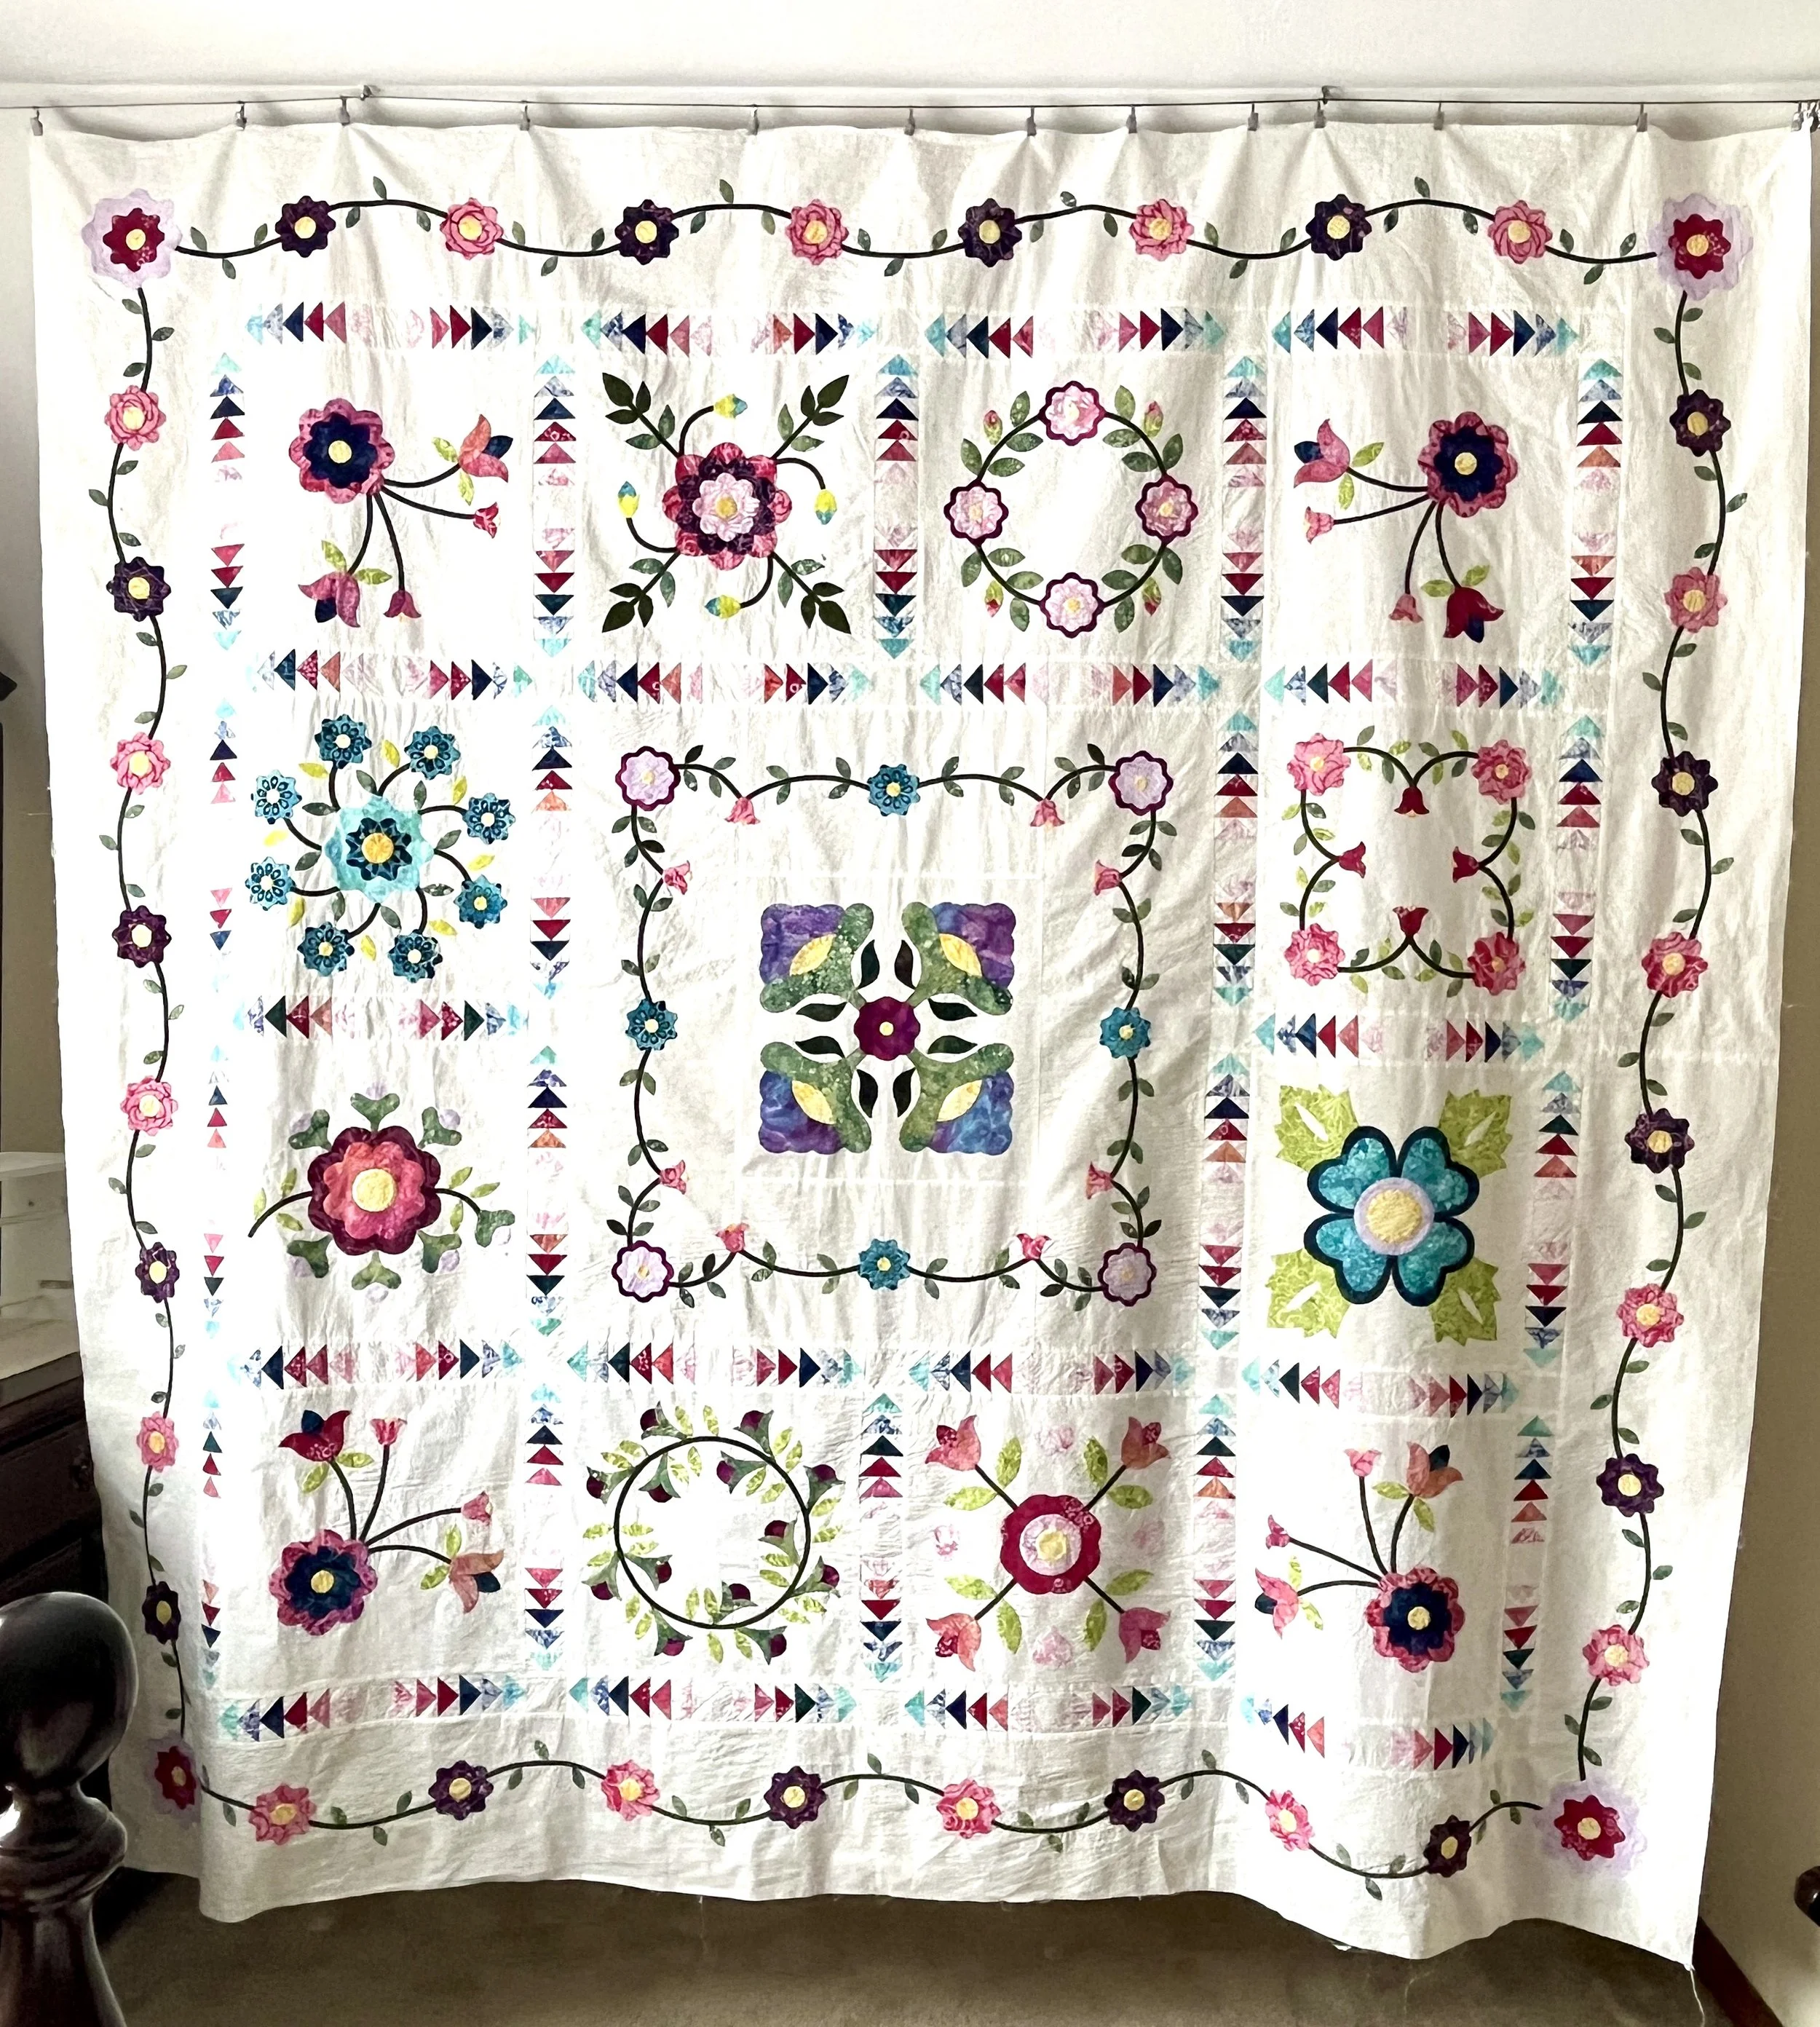
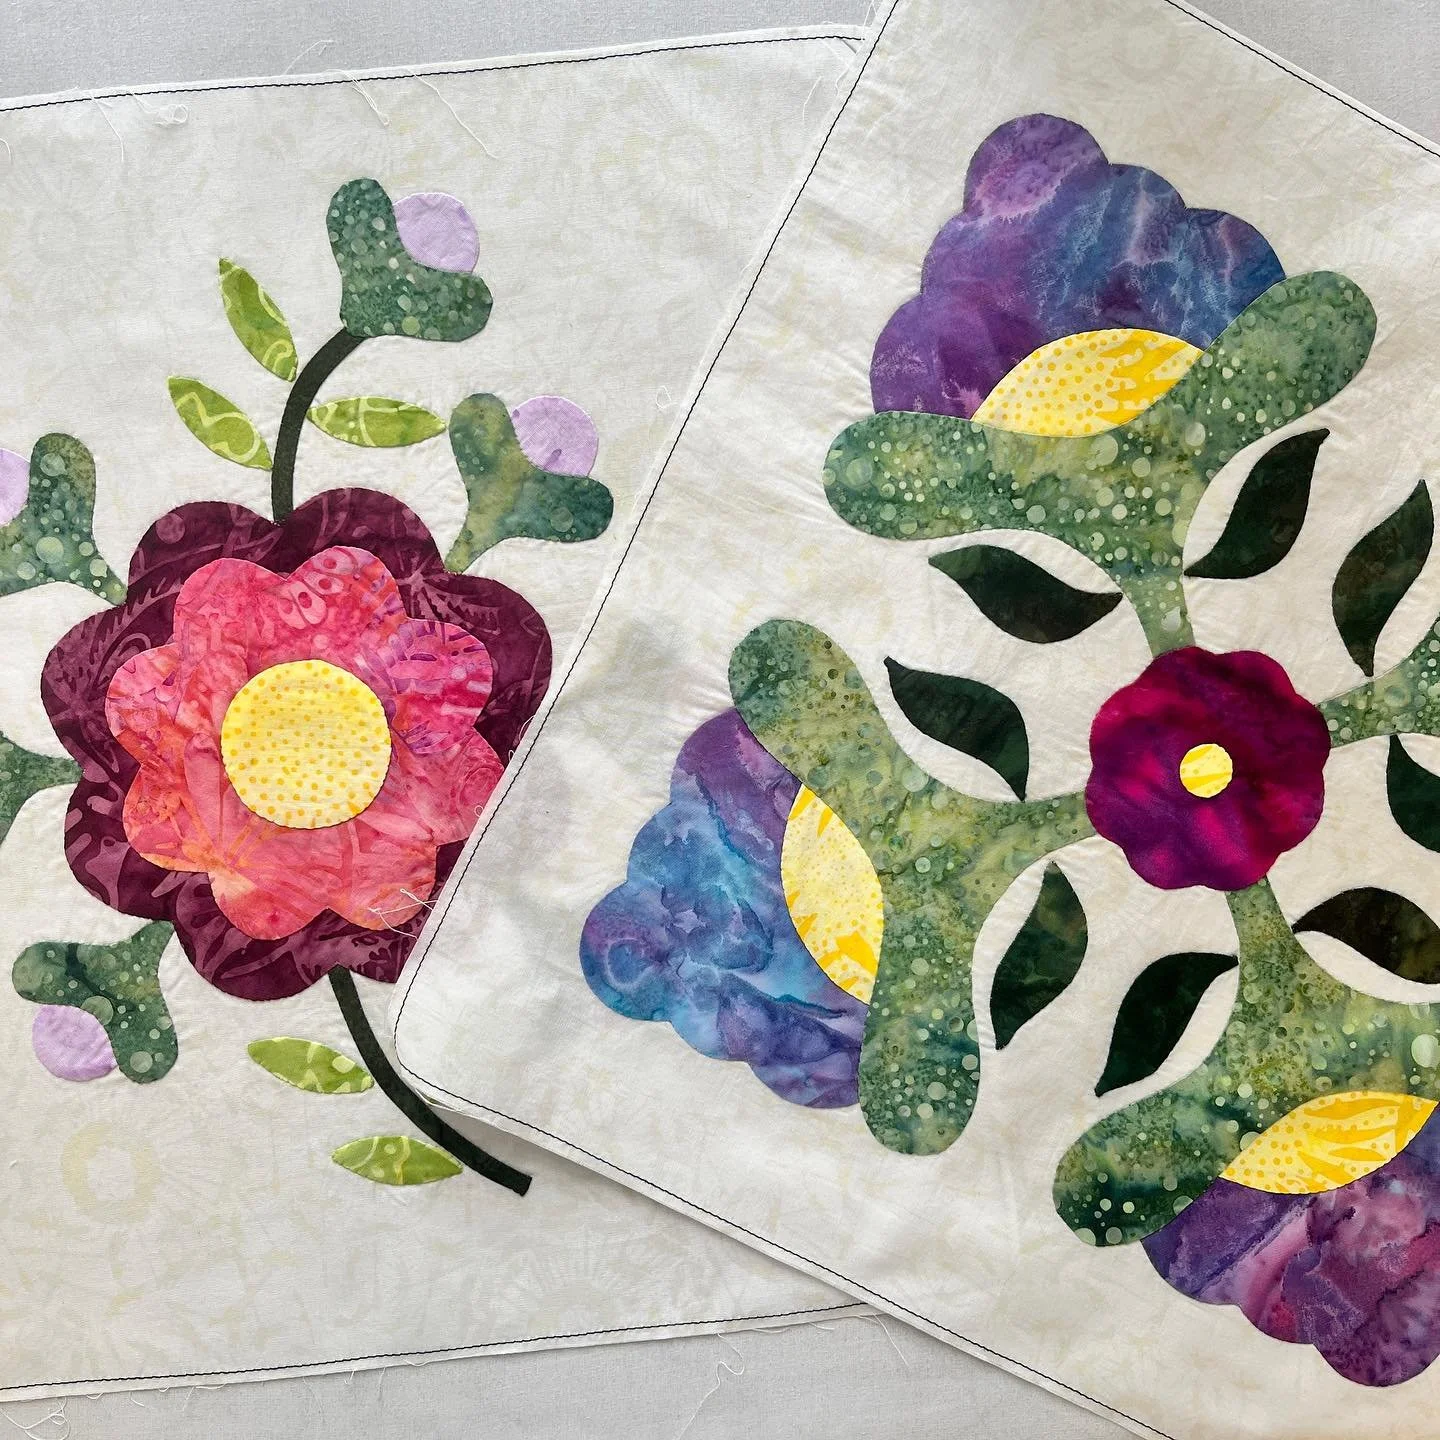
I am so happy to finally complete this beautiful, long-awaited appliqué quilt top.🥳 Ever since I first saw Rose Sampler Supreme back in the early 2000s, I had been longing to make it. I couldn’t resist the feminine floral design and soft colors. They looked simple, yet elegant. And now, the time has finally come!
According to my Facebook history, I started this project in August 2023. As I made progress, I could clearly see my appliqué skills improving along the way. This quilt is certainly not perfect, but it does show growth, and that alone makes me very glad.
I started stitching in the ditches on my longarm machine. If you would like to know the process, please check out this post. —>How to Stitch in the Ditch for Appliqué Quilts
Also check out my quilting work here—> Gallery
Why I Chose Hand Appliqué for This Quilt
I love hand appliqué. I love the look, and I love the process. Working with fine, colorful threads and fabric right at my fingertips feels incredibly satisfying. Even though this pattern was published in 1999, it has such an antique feel that hand appliqué just seemed right.
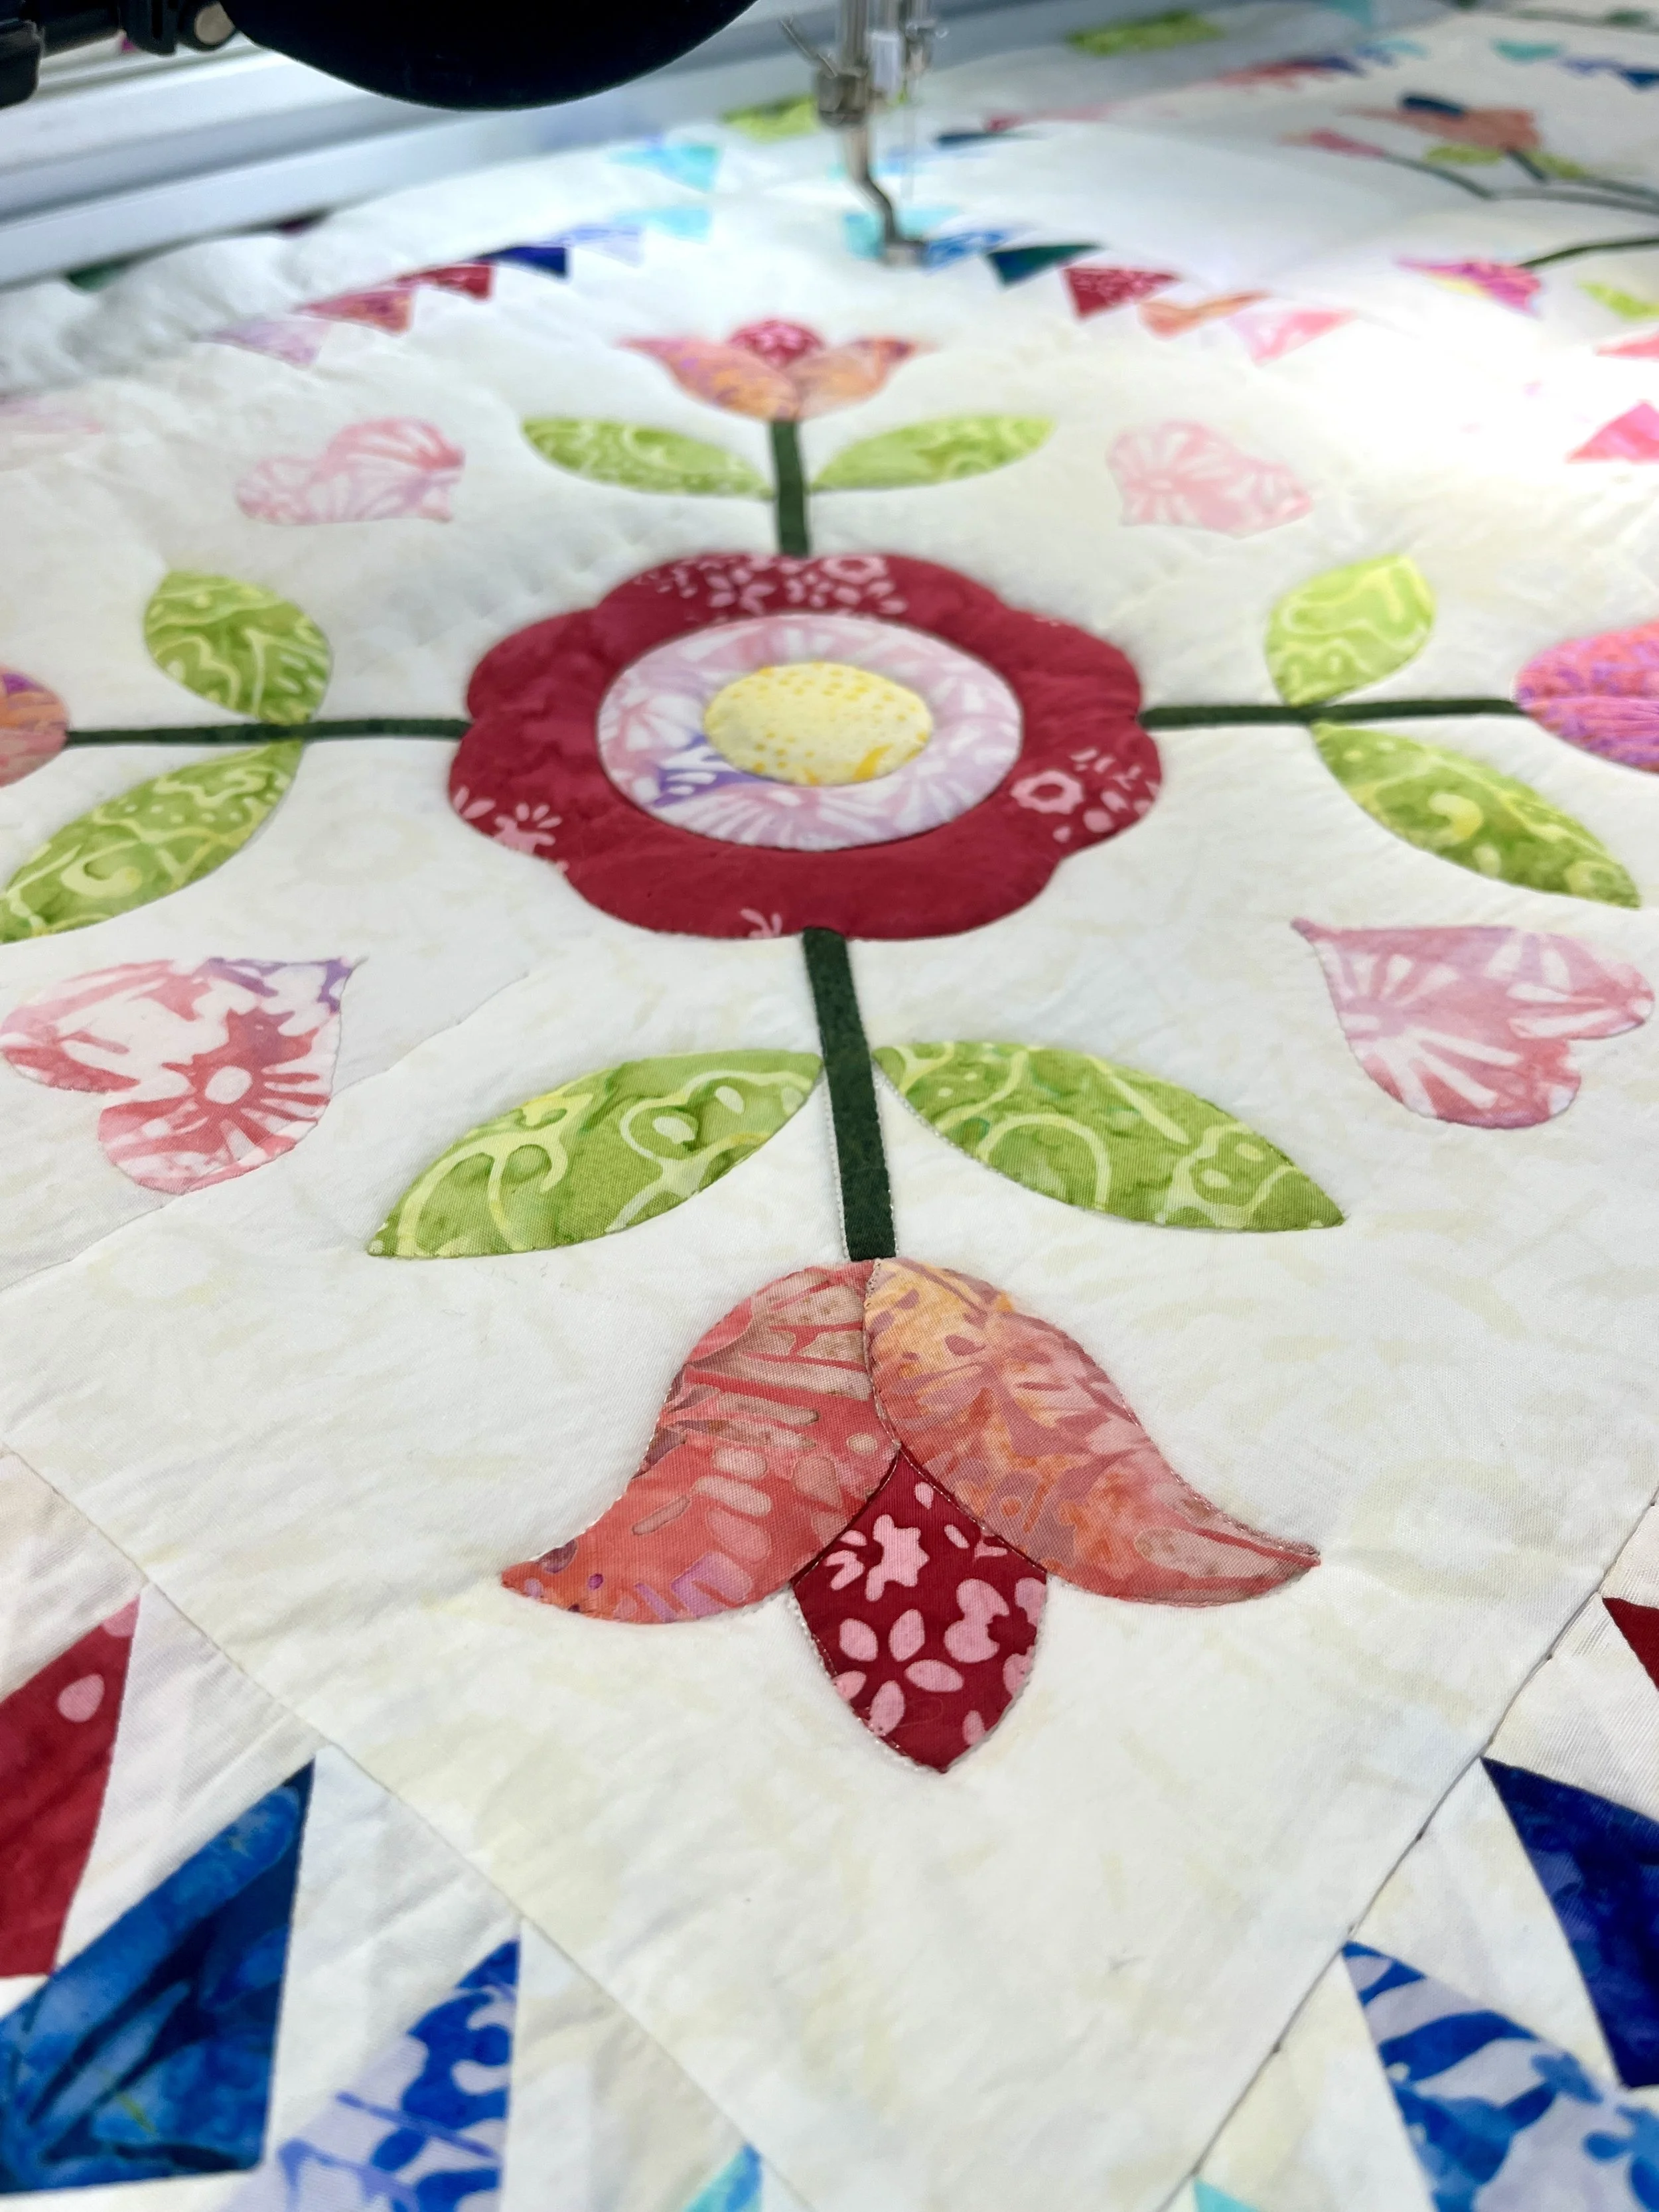
I used matching silk threads.
If I could, I would have tried hand quilting as well, but that is still beyond my league. 😅
In the past, I was a needle-turn girl. Over time, though, I lost some of that skill and experimented with other methods, including starch, to achieve sharp results. In the end, I found that the freezer paper method suited this project best, especially since I was working with batik fabric, which can be difficult to control with just a needle tip.
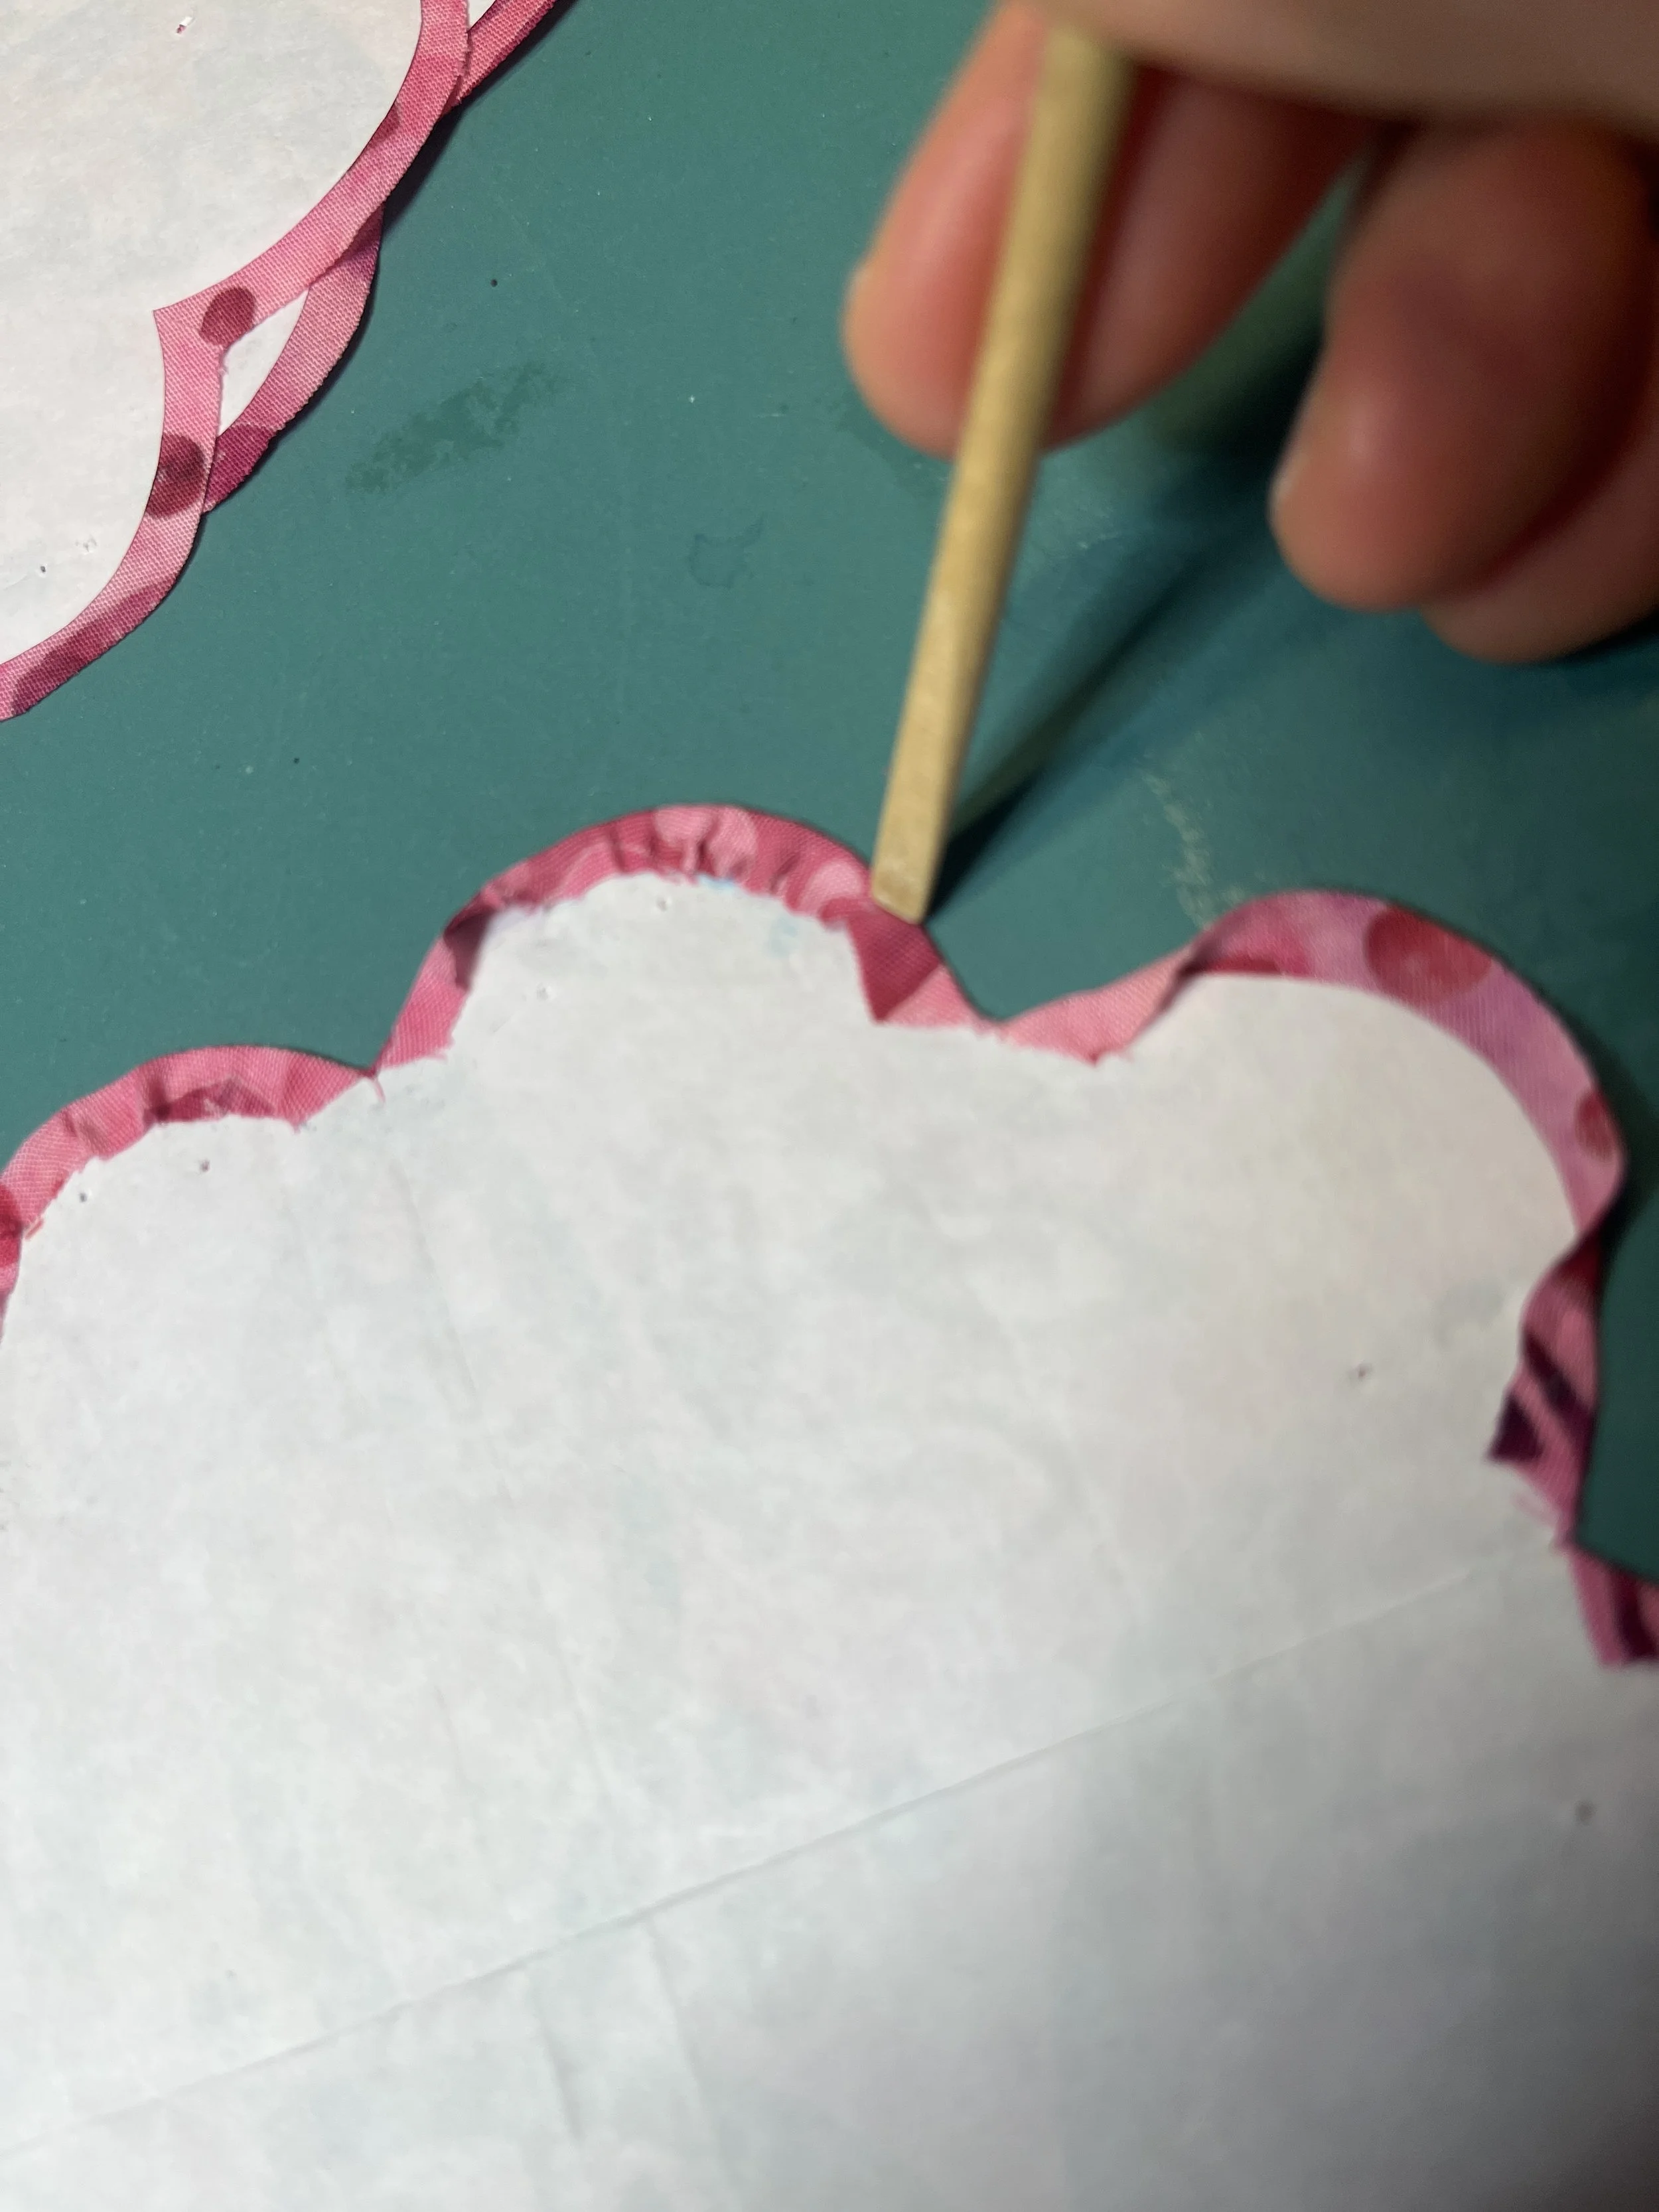
Using freezer paper and fabric glue to baste.
Adjusting the Block Layout from the Original Design
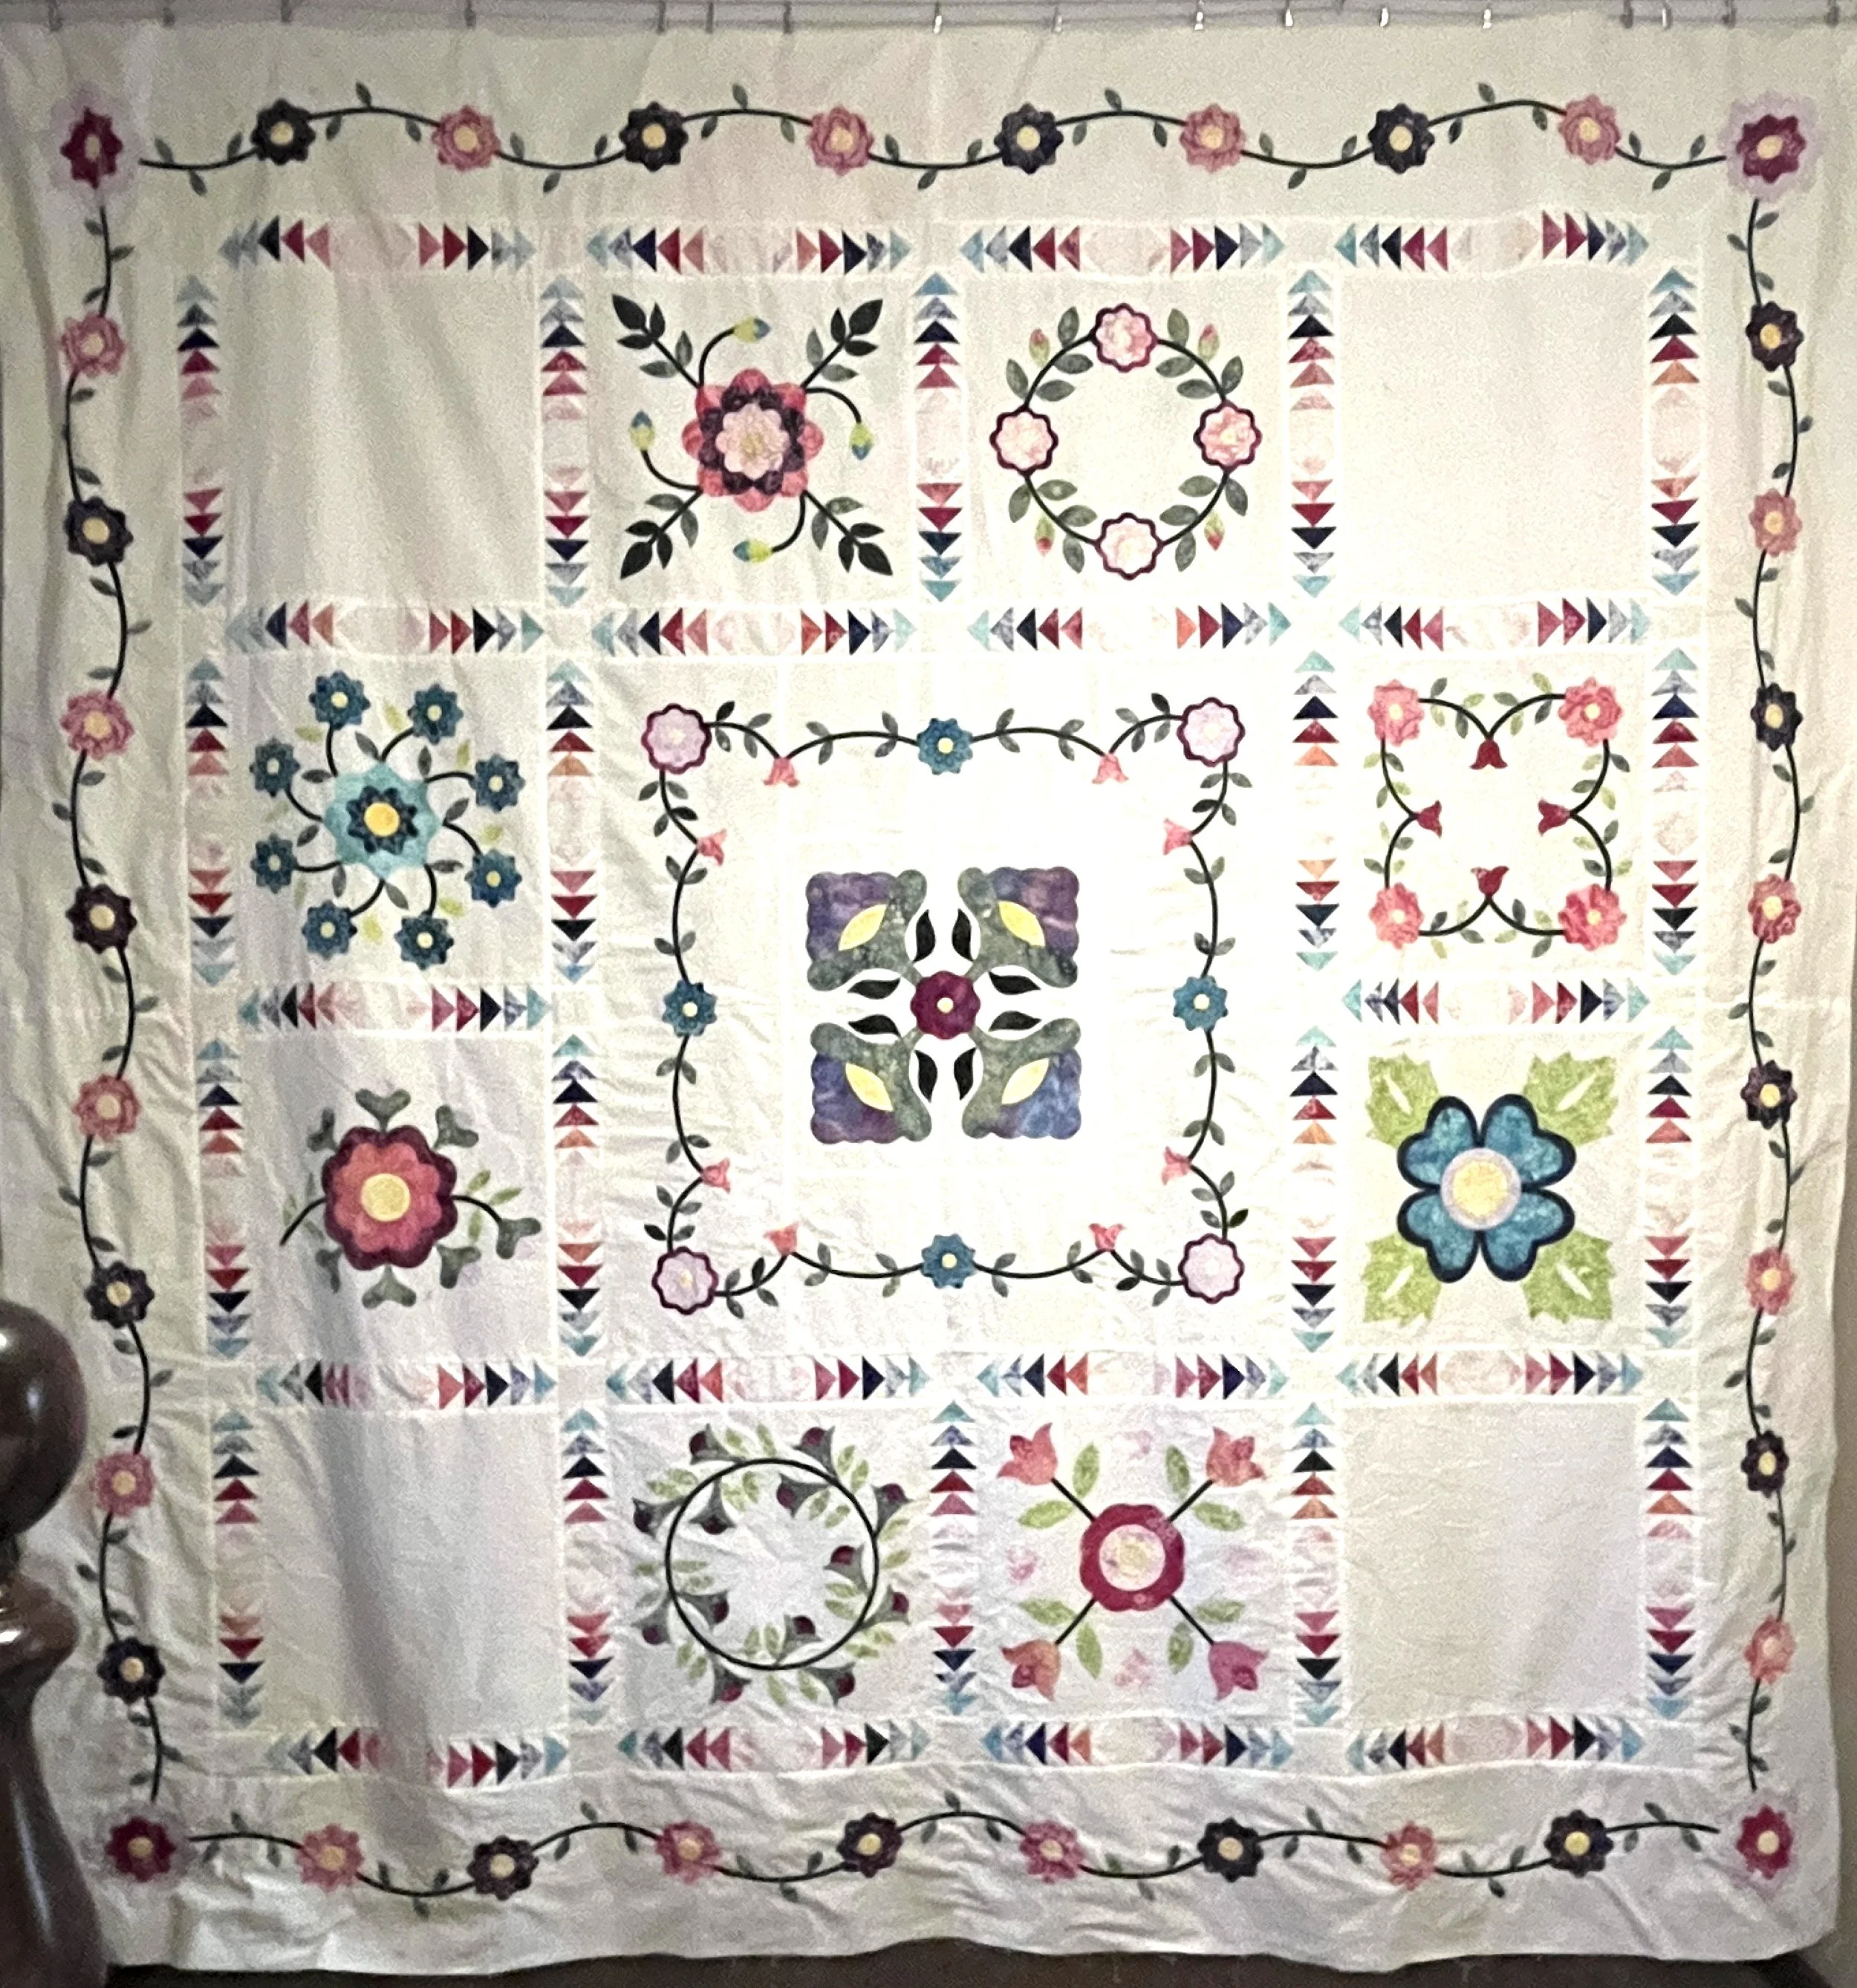
The book includes a total of 20 rose sampler blocks, swag borders, and dogtooth sashing. For my quilt, however, I chose to use only nine blocks and designed my own borders and sashing instead. I am very pleased with the result.
This layout change was not part of the original plan, but it felt right as the quilt developed. I also received many kind compliments on this decision from my Facebook quilting group, which was both encouraging and affirming. 🥰
Rethinking the Corner Blocks for Visual Balance
Originally, I wanted to leave the four corner blocks blank so I could add a fancy quilting motif later. I honestly think quilting alone in those areas could have looked fabulous. However, as I continued to evaluate the quilt top, I decided to add appliqué instead to create better visual balance.
My original plan
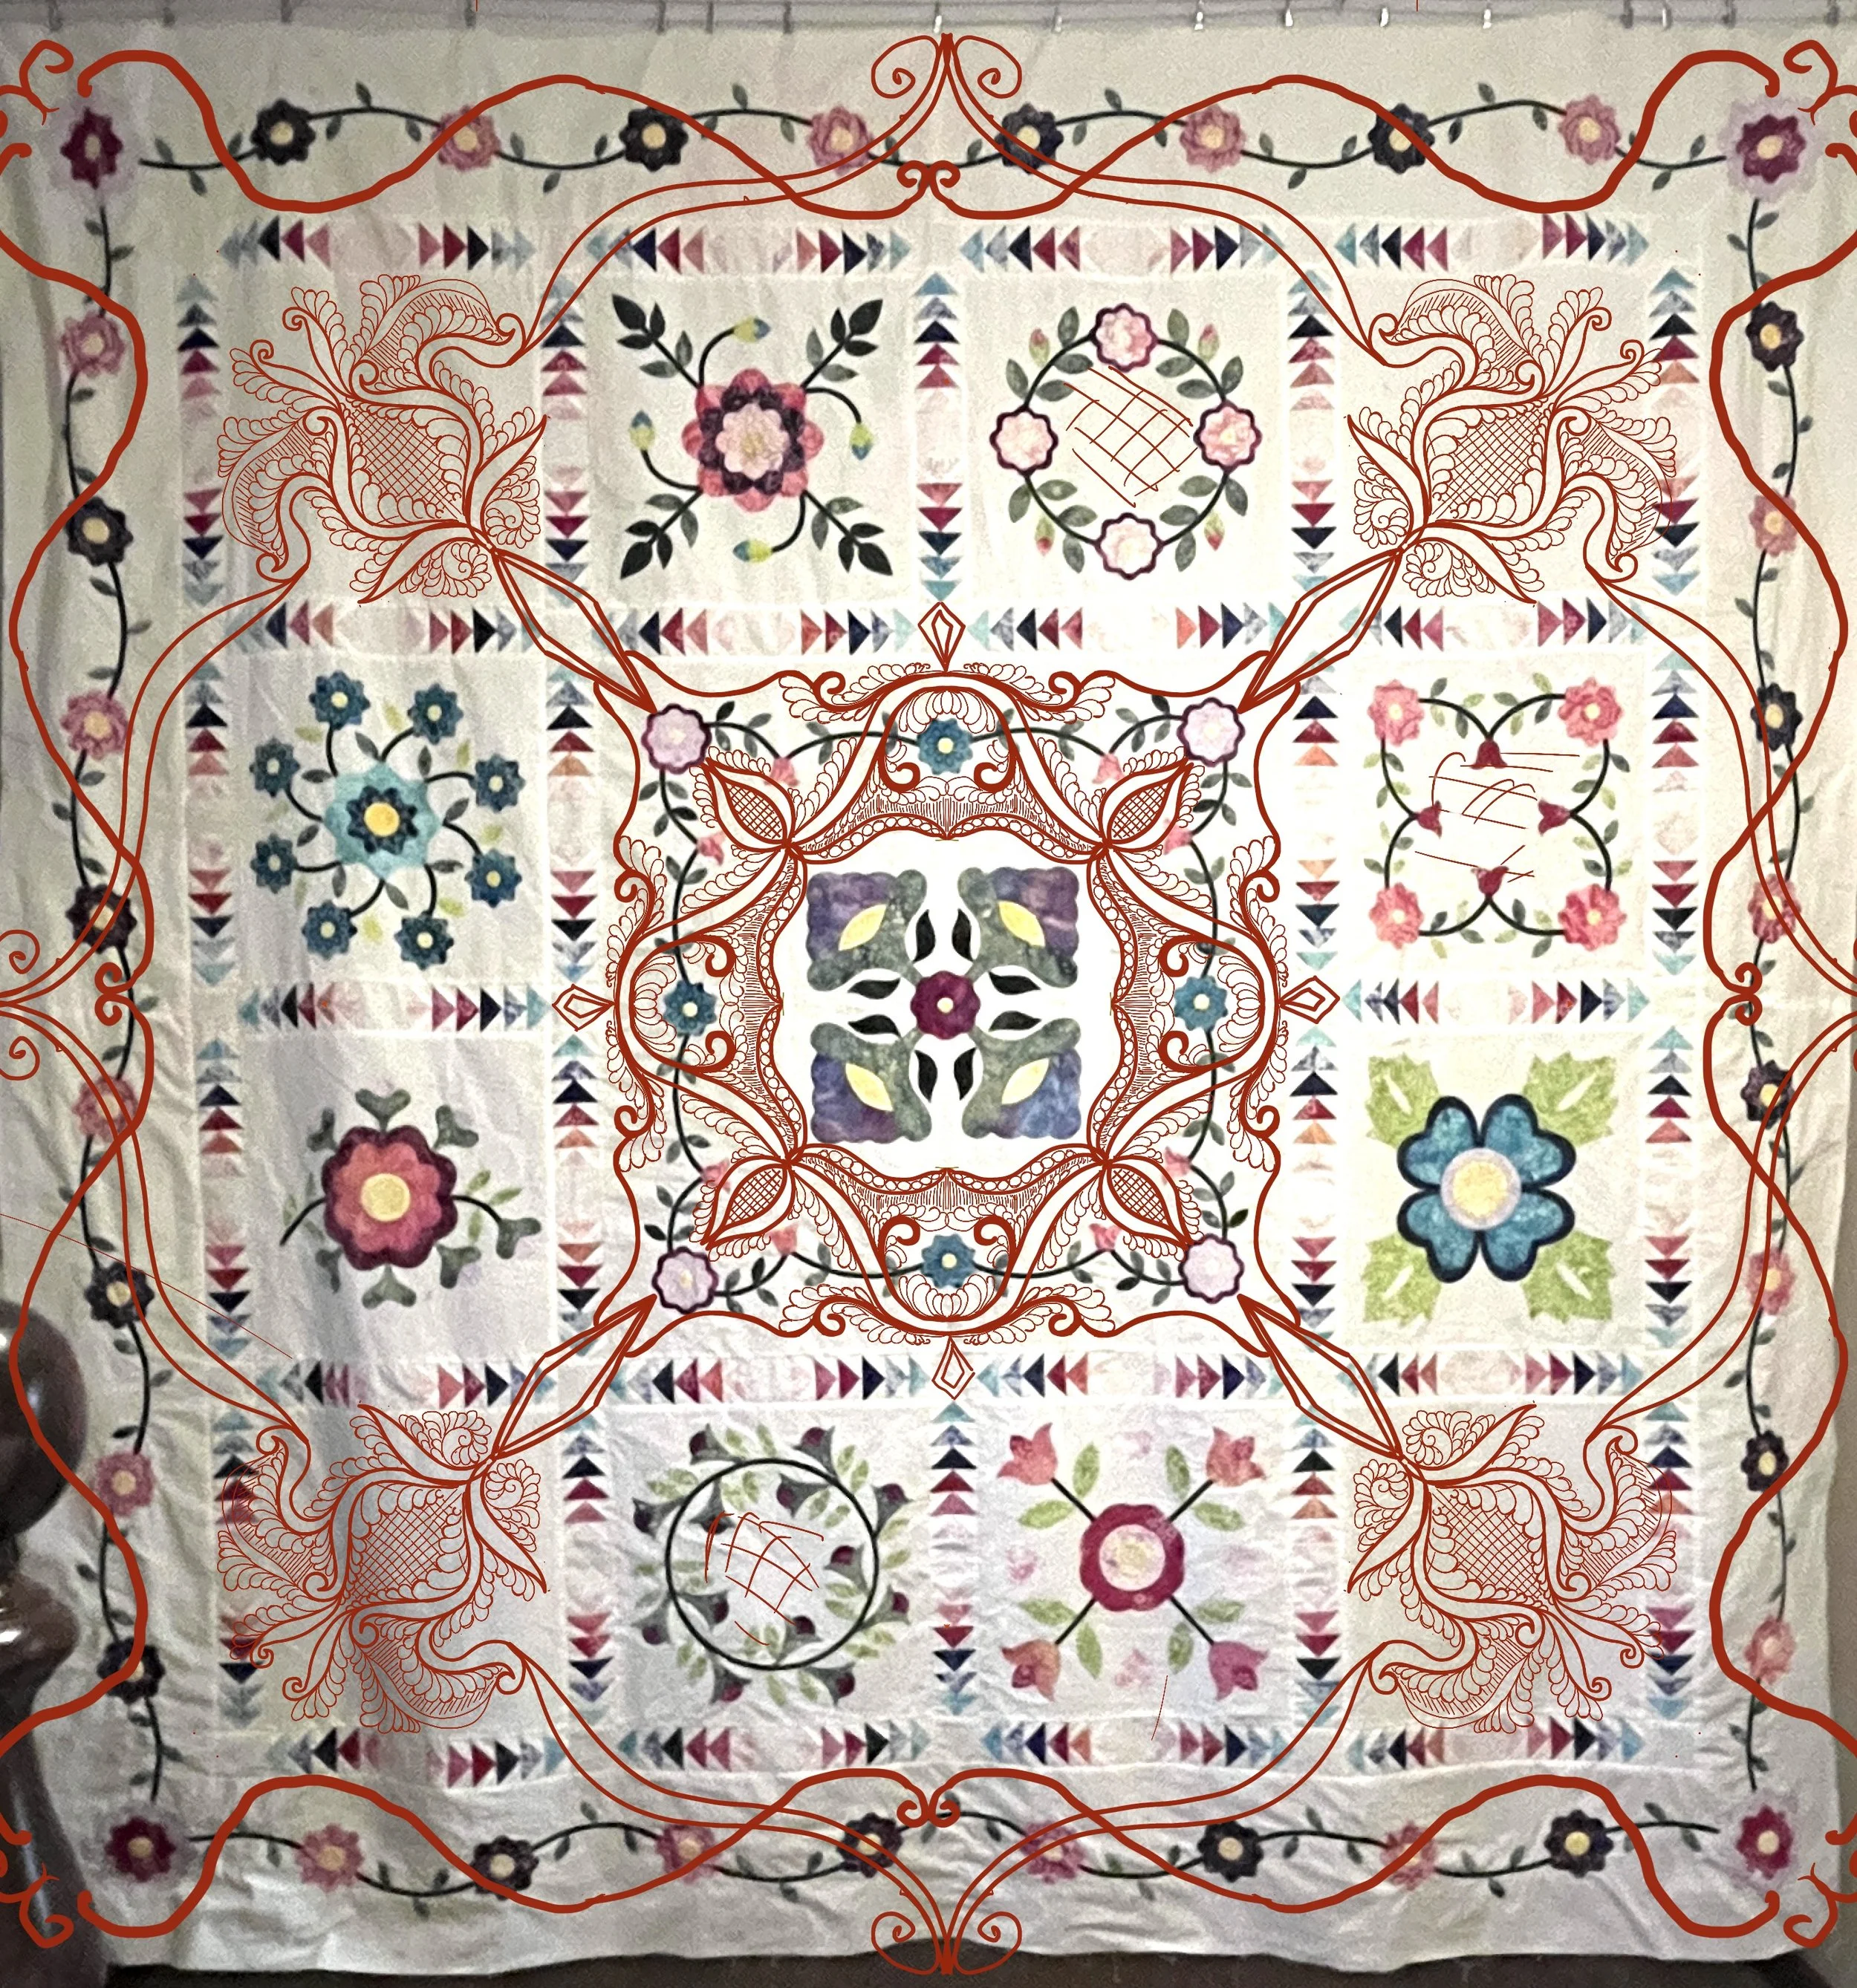
My orinigal plan
Sometimes designs that look great in my head, or even in Procreate, don’t translate the same way in real life. I didn’t want to take that chance this time, so I chose balance over risk.
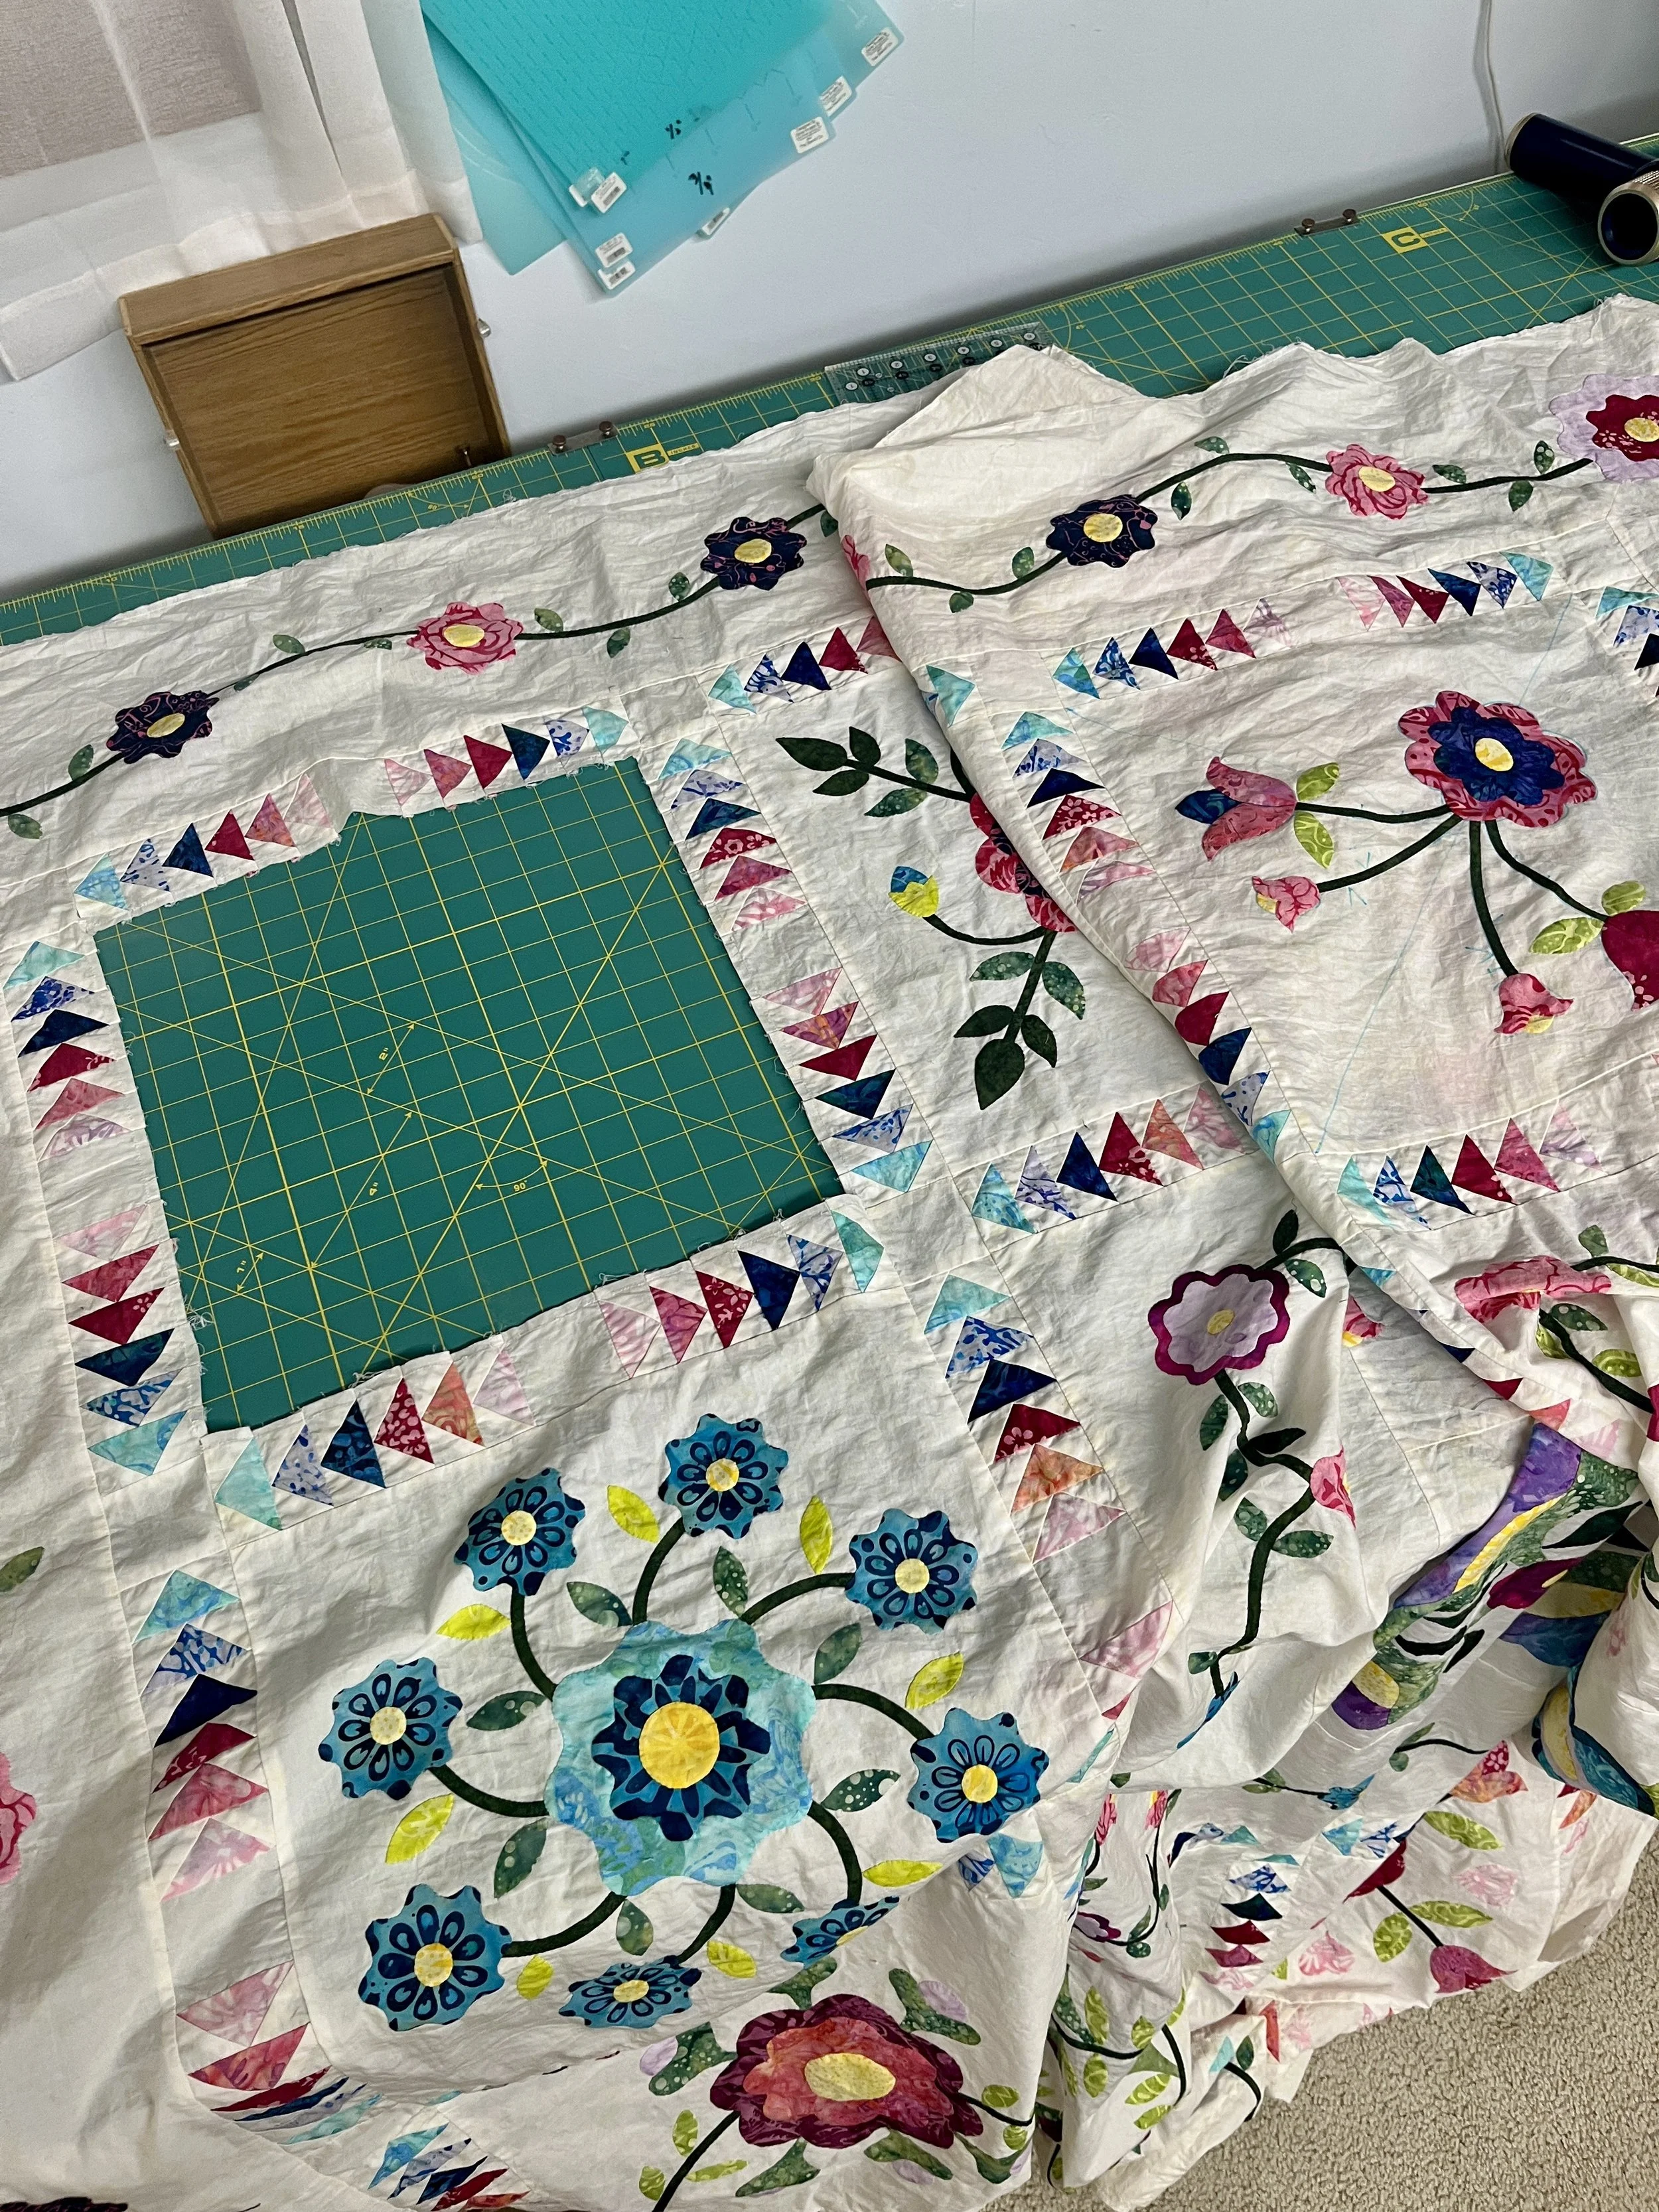
The Hard Part: Appliqué After the Quilt Top Was Assembled
Making this change came with some tough moments. The quilt top was already assembled, and I really didn’t want to take it apart for fear of creating “more work.”
Well… that didn’t work.
Stitching appliqué onto an 80" × 80" quilt top is not something I would recommend to anyone. After finishing just one corner block, I finally gave in, took the other three corners apart, and completed them properly. Once everything was done, I felt incredibly relieved.
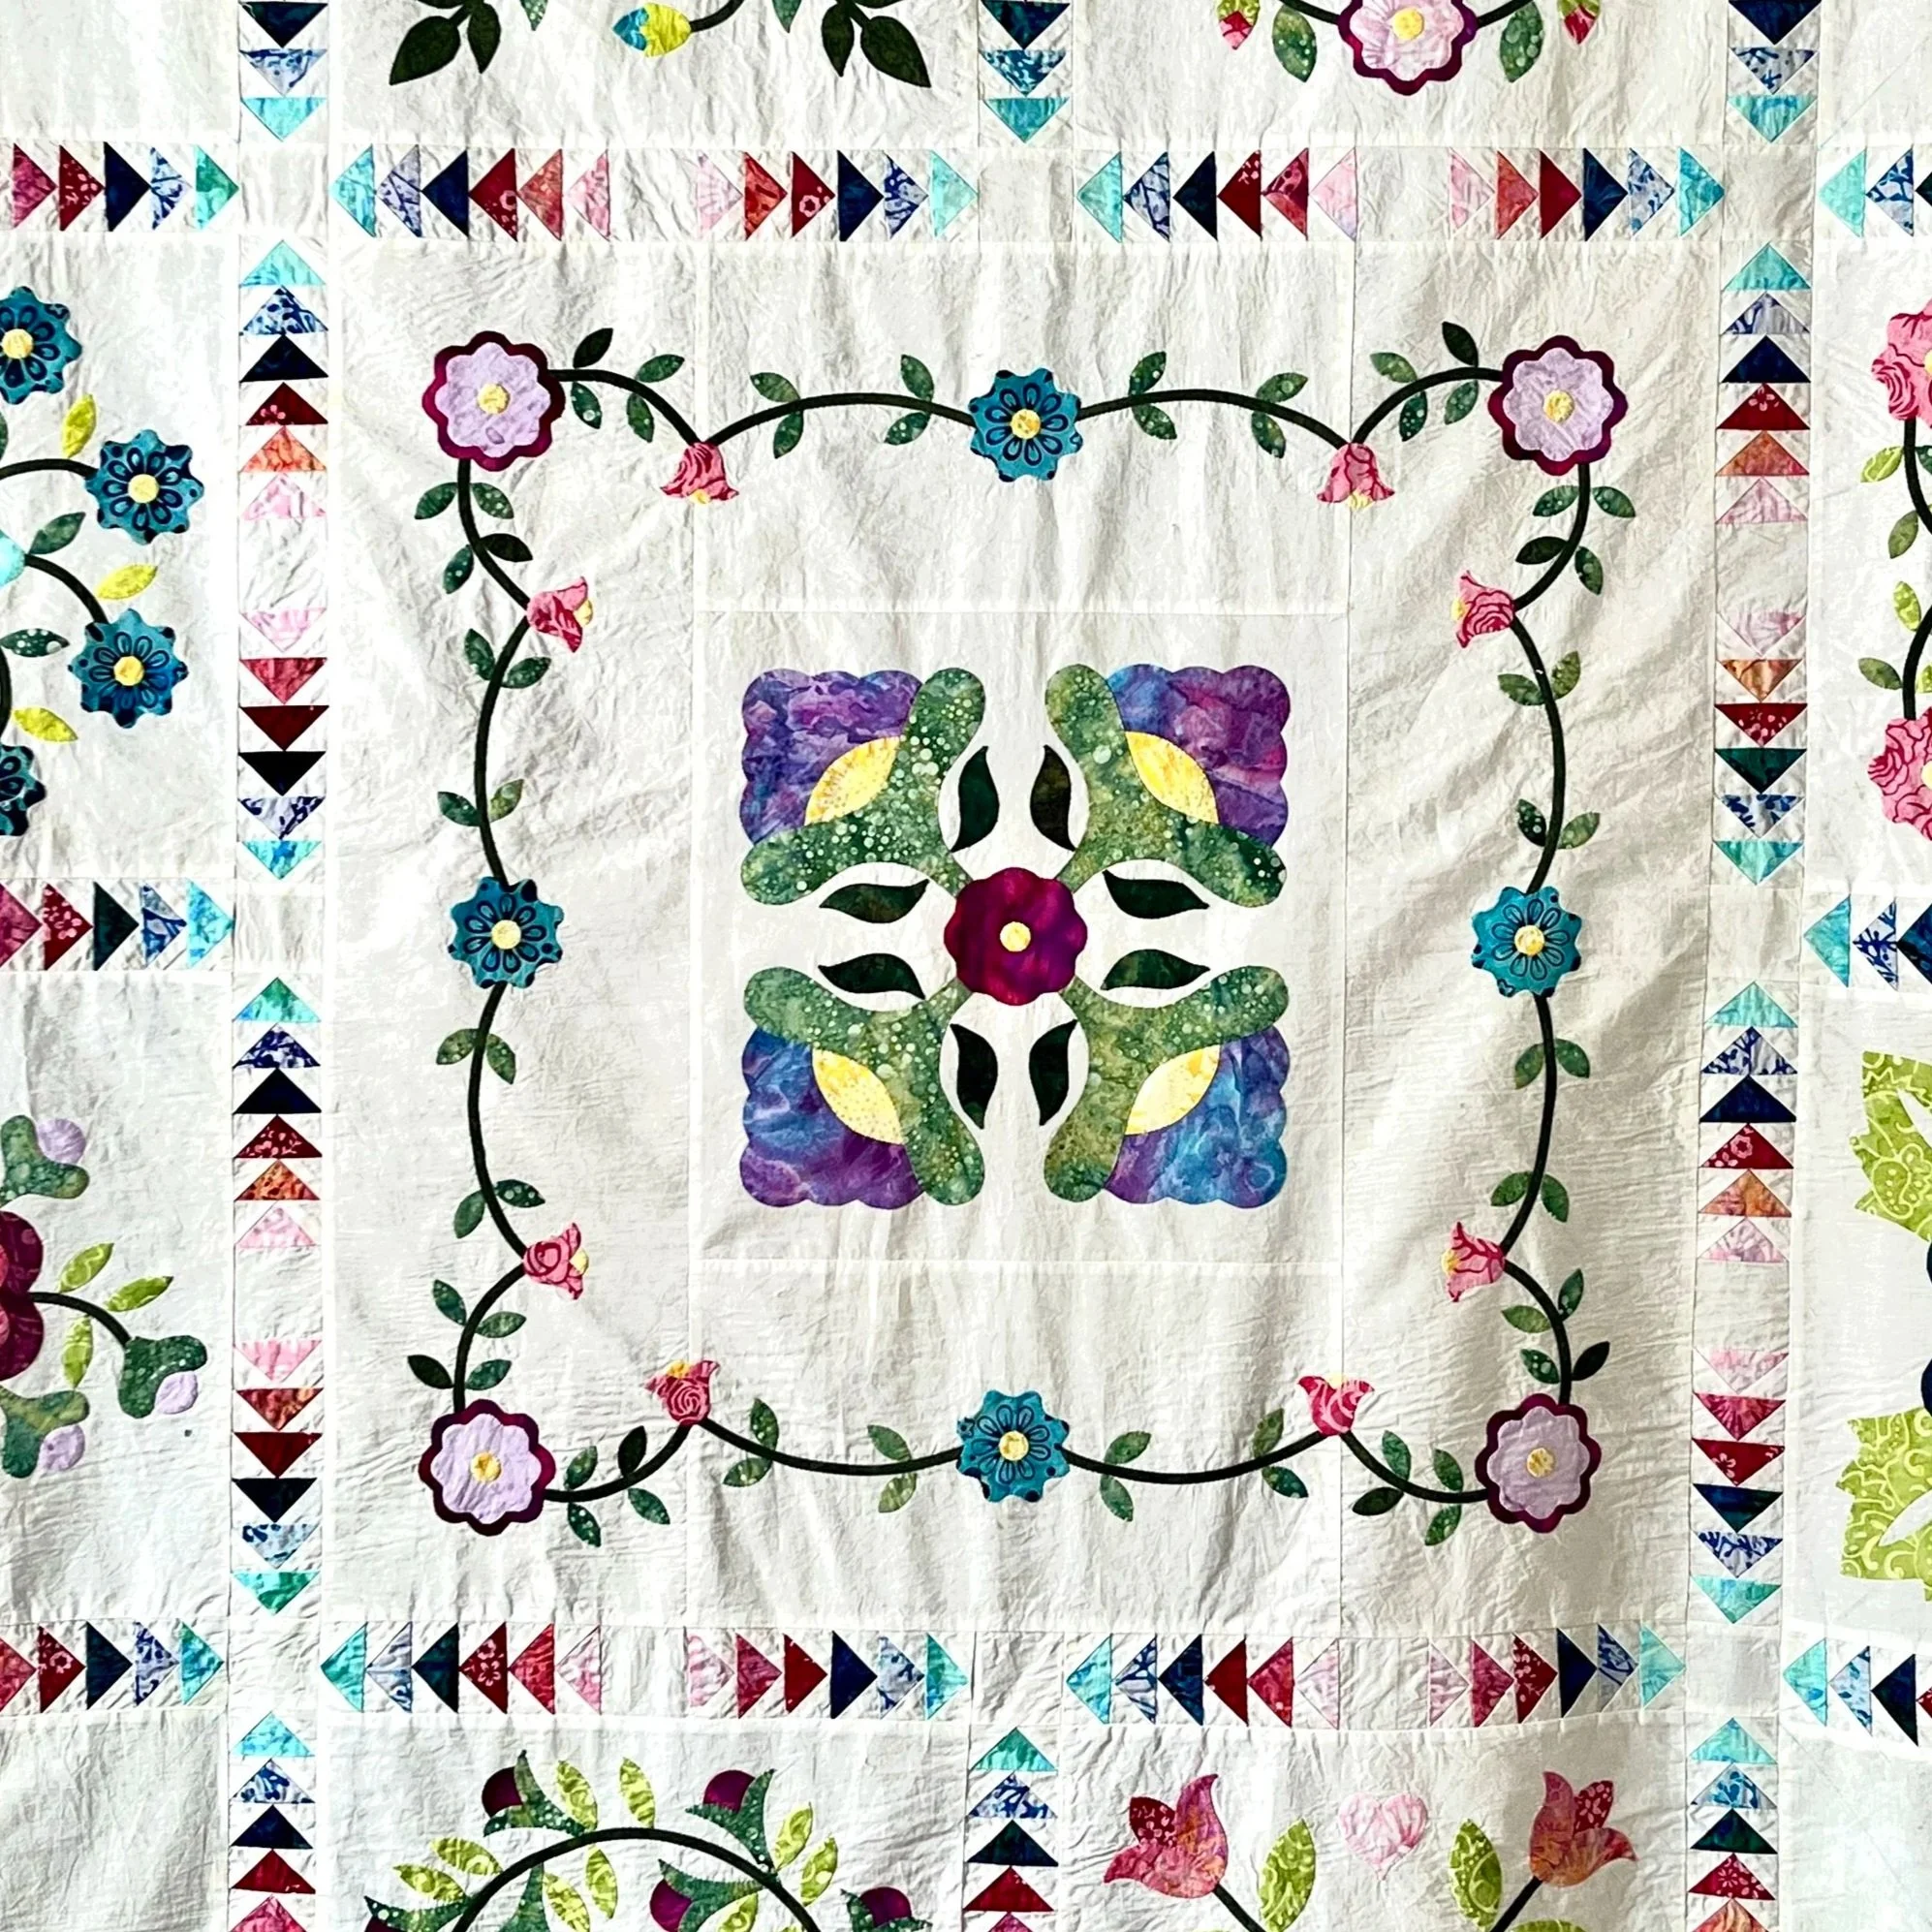
For the corner blocks, I wanted a single repeated motif that would make the whole quilt feel cohesive and tied together, so I did my best to design my own.
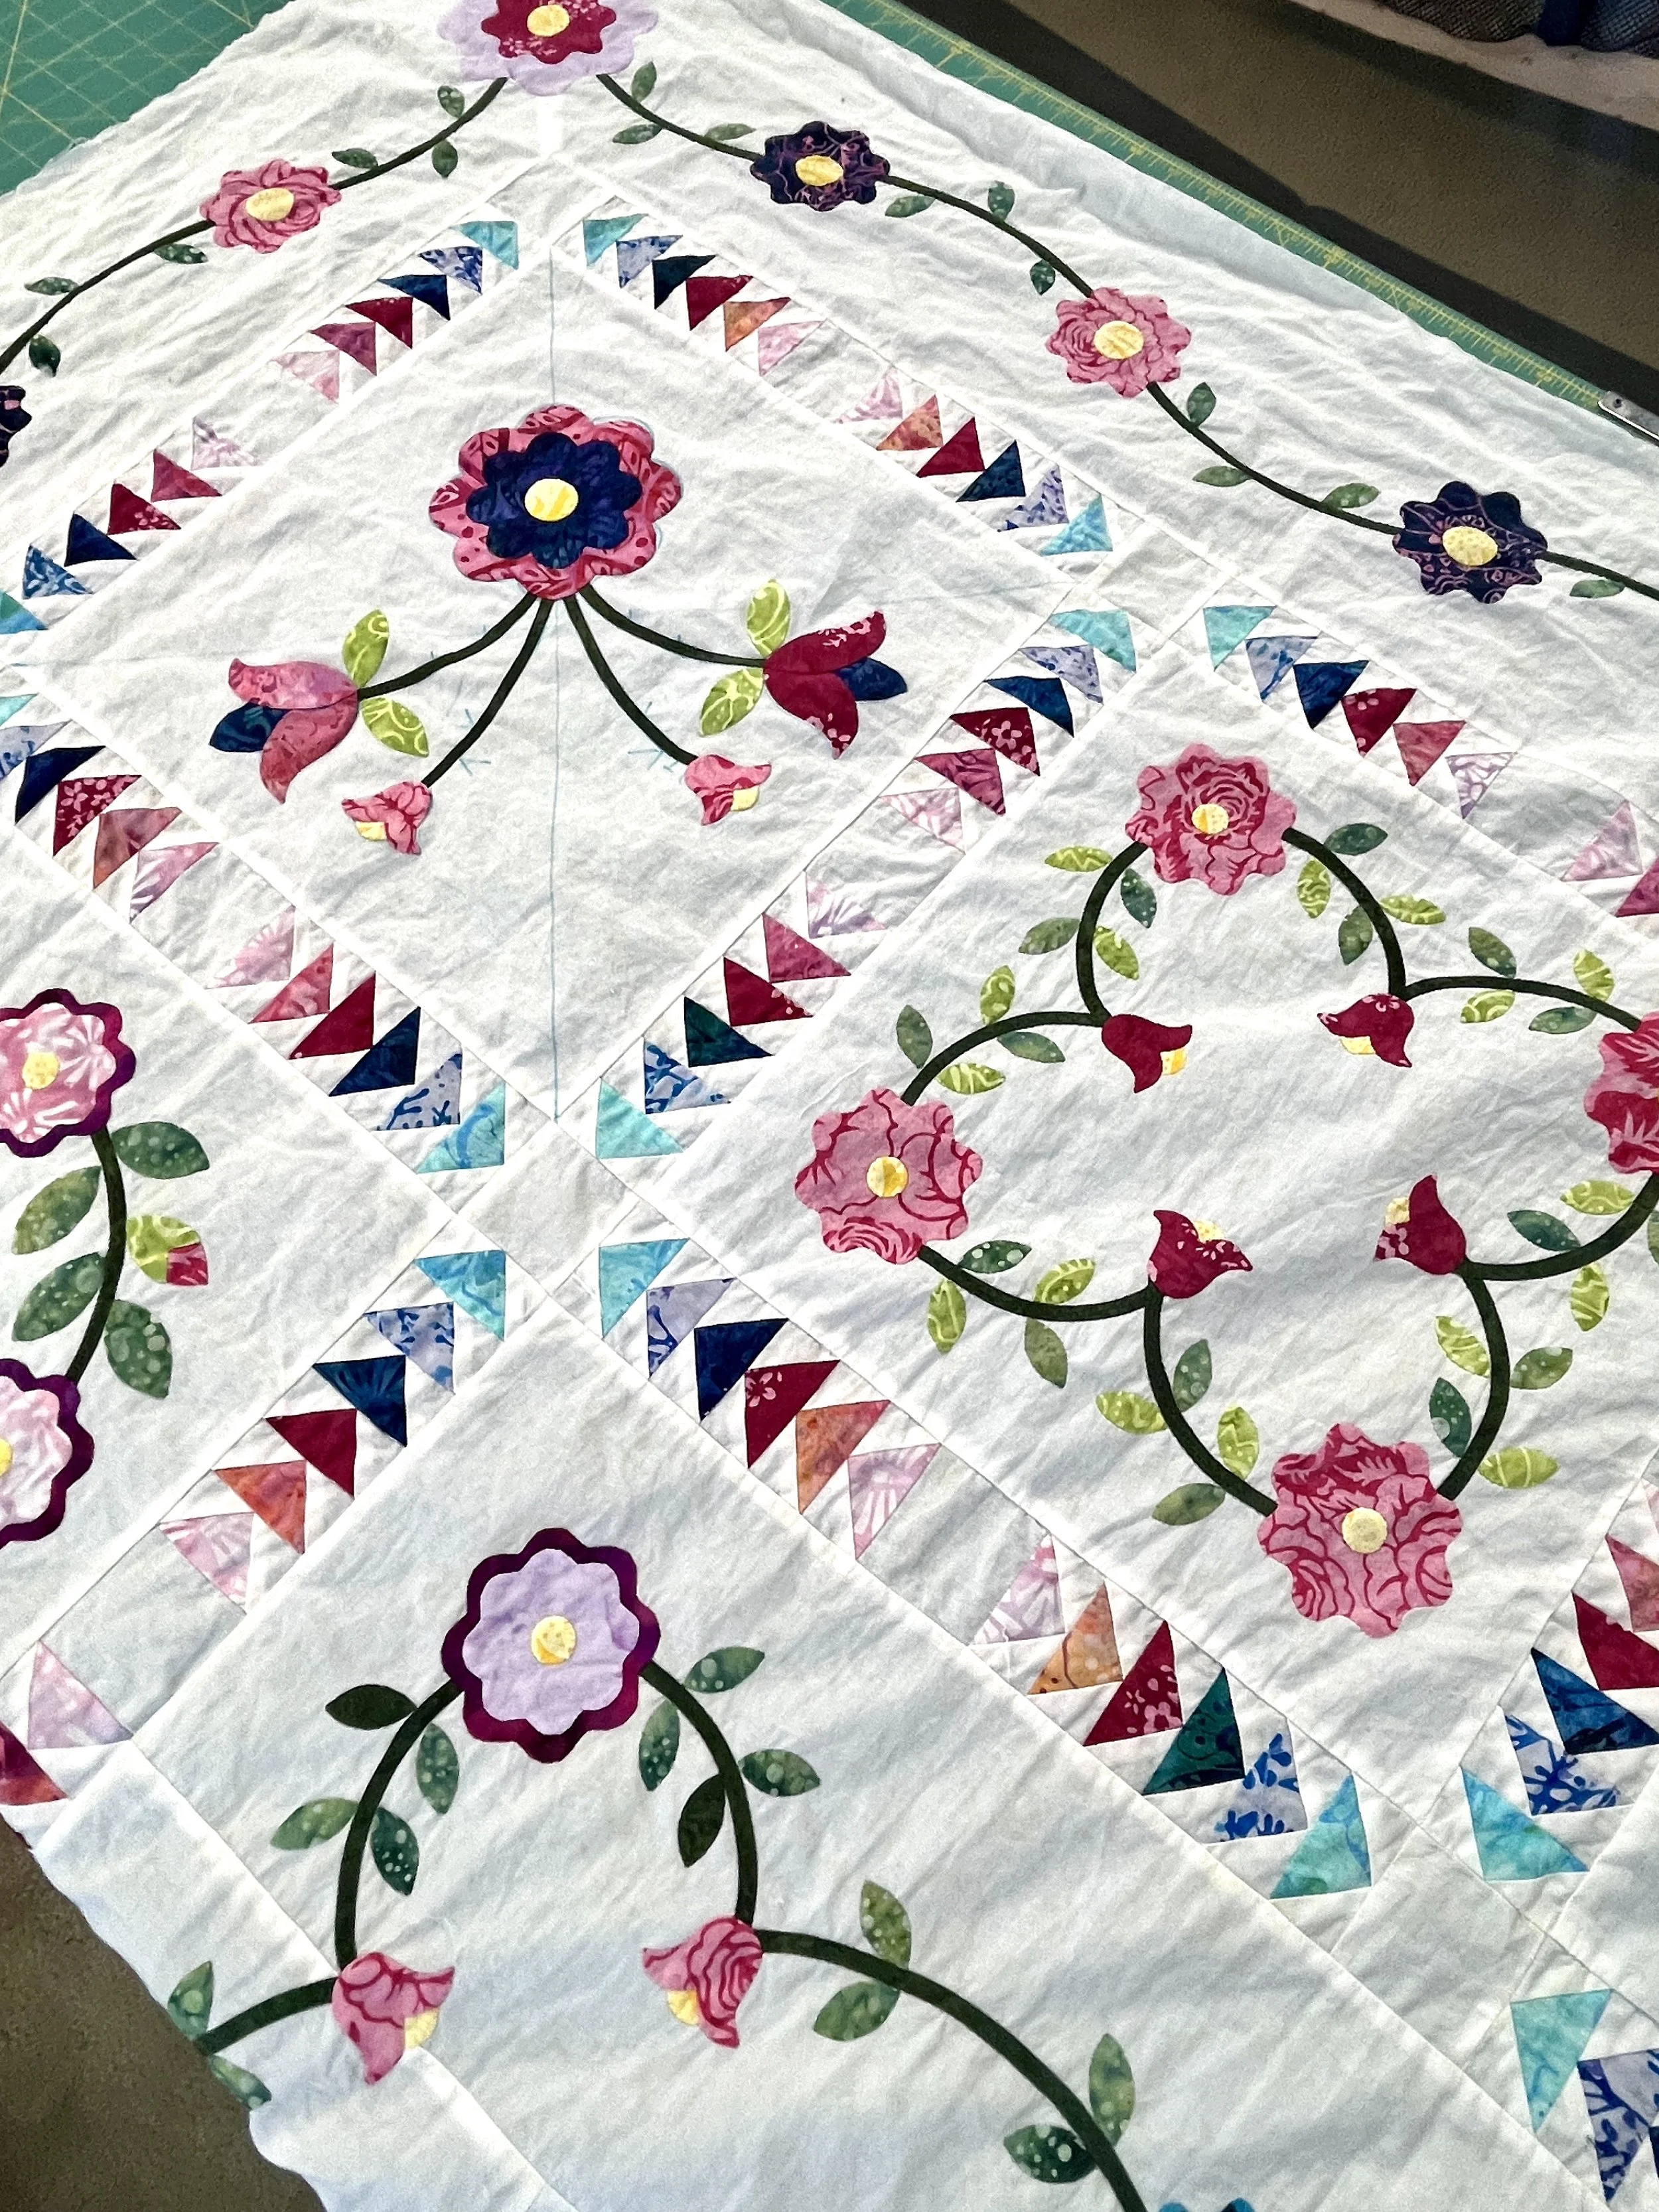
Designing the Sashing
For the sashing, which received many compliments from my Facebook group, I wanted something lively that would read well from about ten feet away. Although I used different colors for each flying geese unit, I was able to create a gradient look by carefully paying attention to value.
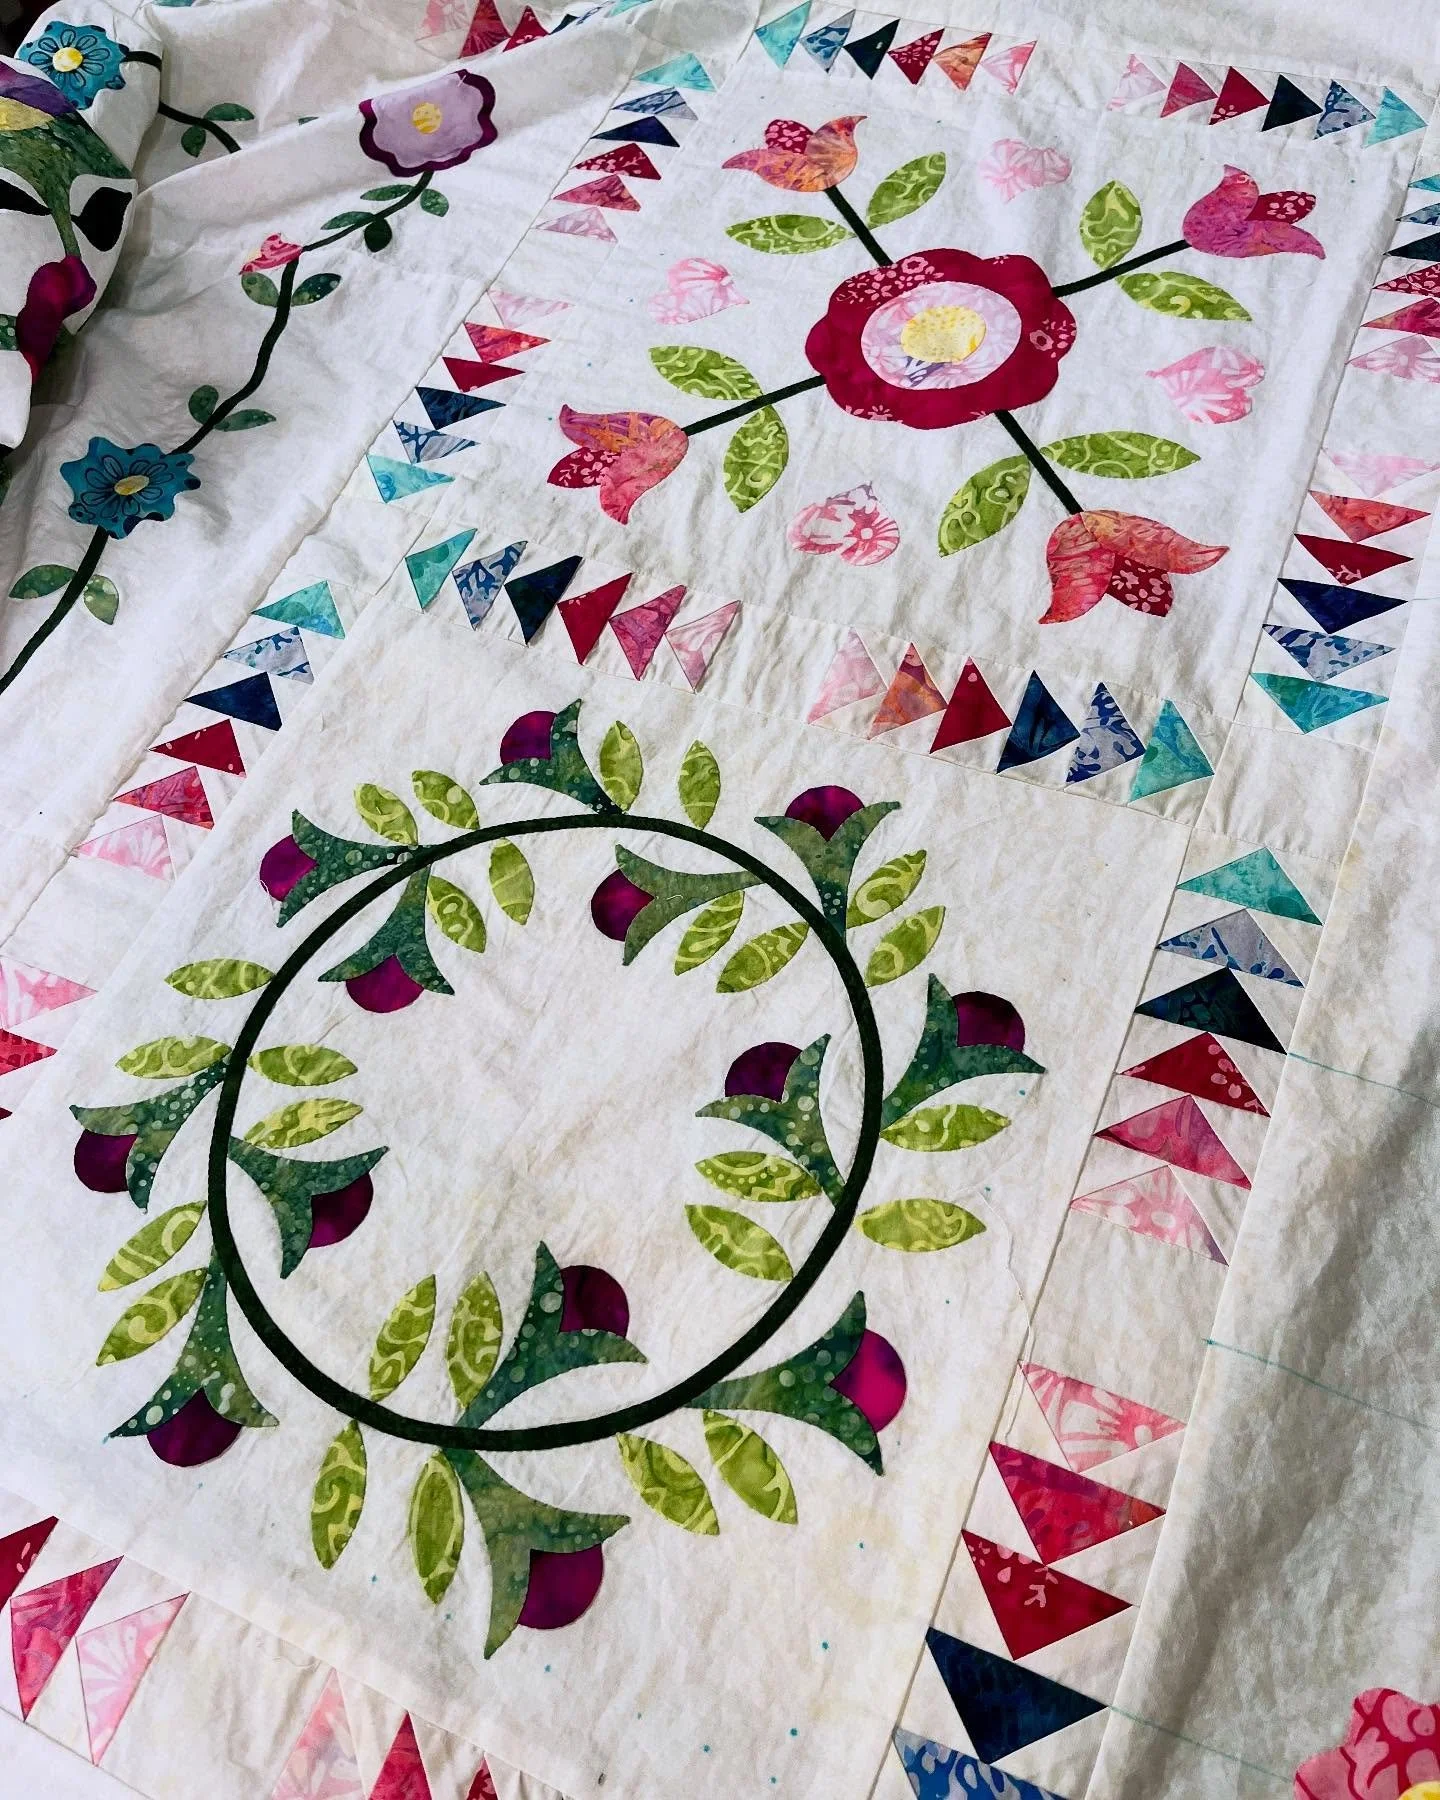
This was one of my favorite design decisions in the quilt.
Batik Bleeding
Overall, I am very happy with my color choices. That said, when I used a bit of moisture to remove the freezer paper pieces, some of the colors began to bleed, something that is fairly common with batik fabric.
After removing the freezer paper, I gently rinsed the blocks in cold water and ironed them flat. Thankfully, everything settled nicely.
After all, it was such a fun project, and I am very proud to have made it. It truly helped me grow as a quilter. Now, I can’t wait to add beautiful quilting to it. Stay tuned!