6 Tips to Improve Free Motion Quilting
Have you ever poured your heart into practicing something, only to feel like you're getting nowhere? I know I have. Whether it was perfecting my handwriting, learning to play the piano, or memorizing Bible verses—I've been there. And I felt the same frustration when I first started free-motion quilting, whether on my domestic machine or a longarm. But over time, I discovered a few key factors that made a real difference in my quilting skills. Now, I'm excited to share these insights with you, so you can achieve beautiful, confident quilting on your own projects!
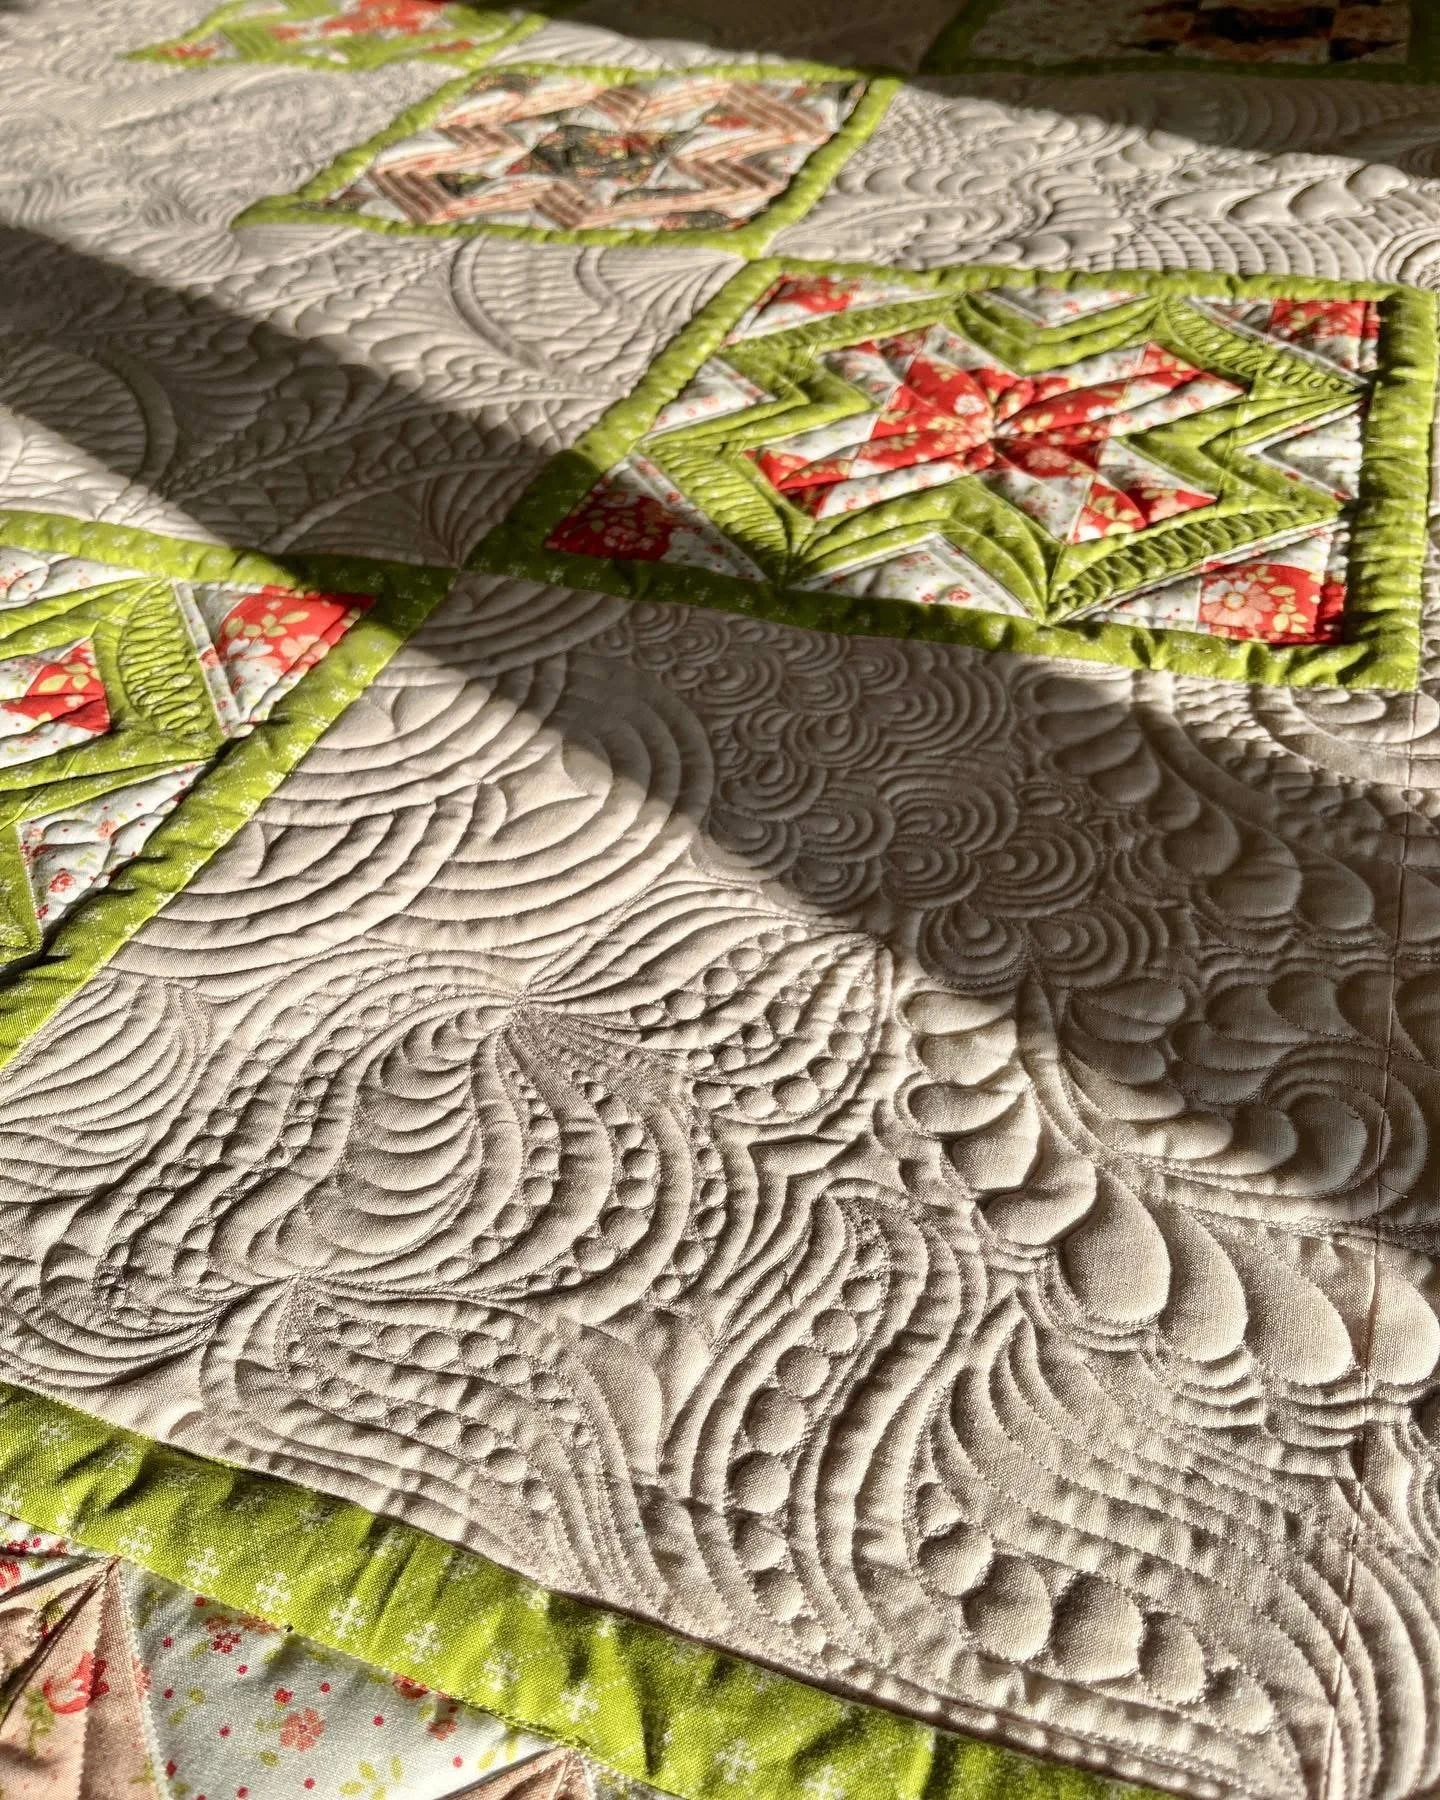
Fun free motions quilting
1. Practice One Motif with Echo
It may sound simple and even a bit dull, but practicing a single motif with echoing can transform your quilting. It creates a beautiful, cohesive look while building your confidence to combine motifs or experiment with variations. I suggest starting with a teardrop shape, as it’s versatile and forms the foundation for popular designs like feathers and leaves.
Simple teardrops make a nice organic look.
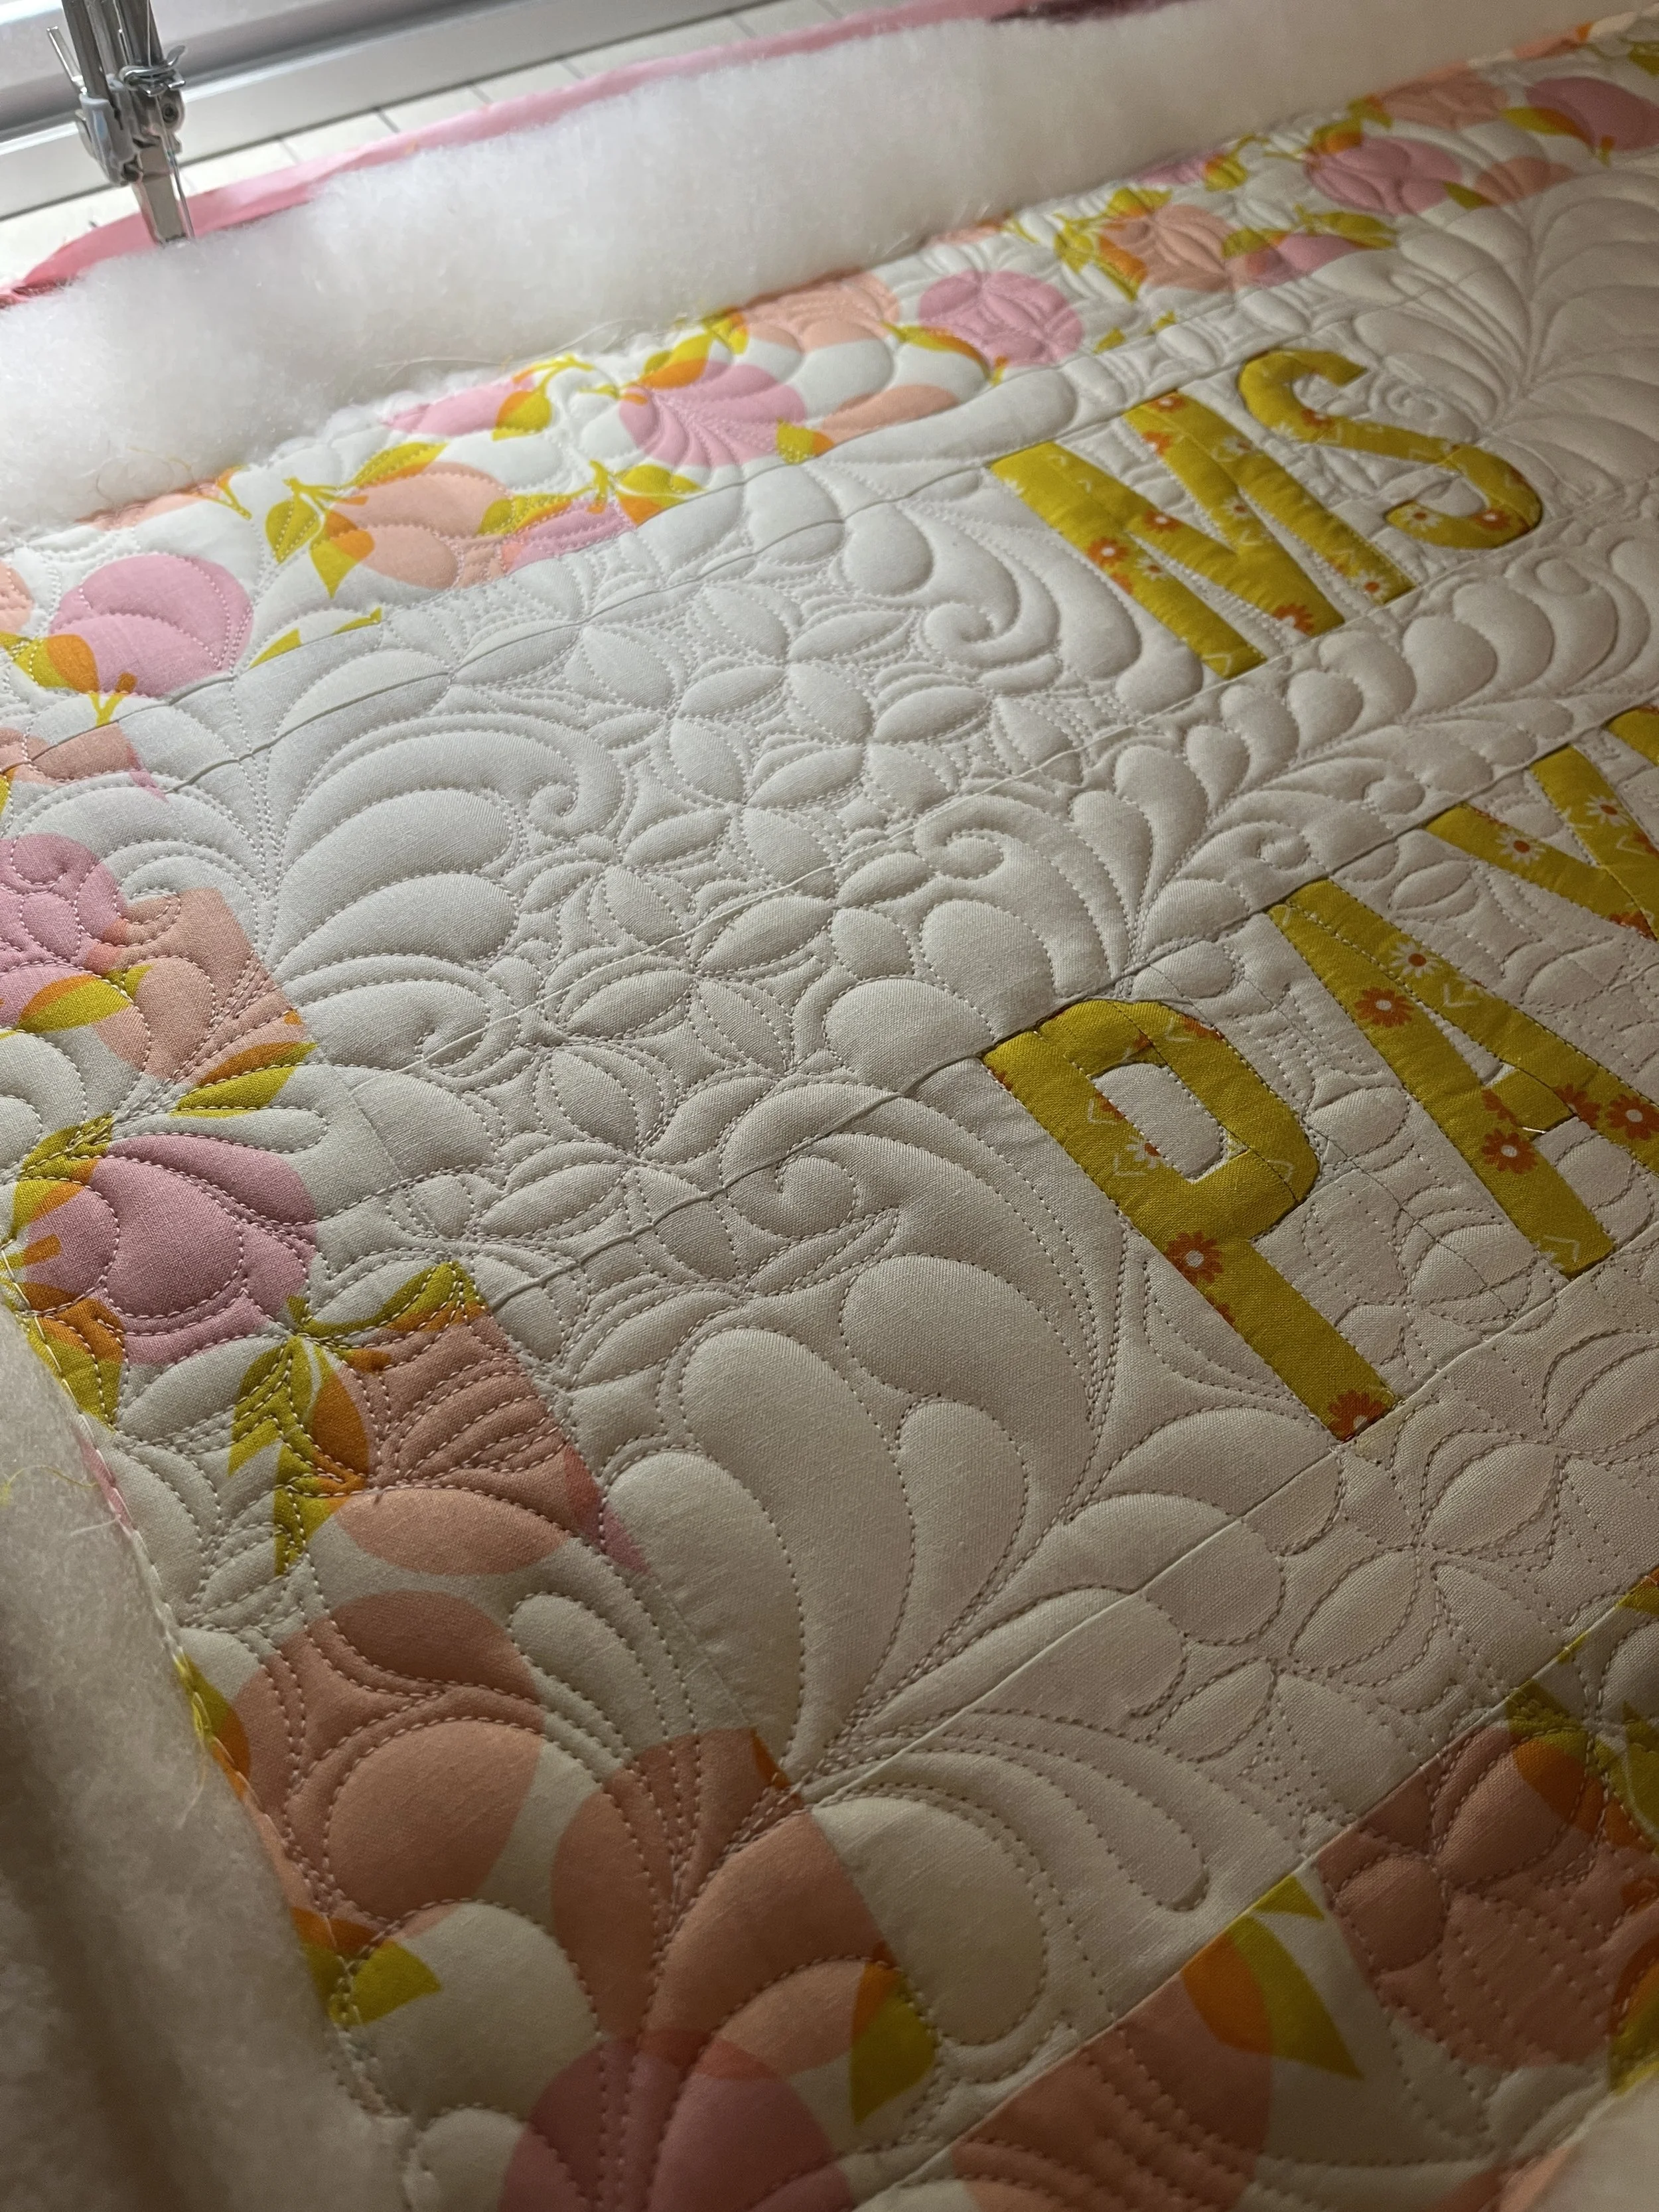
2. Look Ahead
Quilting is like driving a car—you need to focus on where you're going, not where you are. While it takes practice to get used to this approach, it truly pays off. You'll achieve smoother curves and more precise back stitching. This technique is especially helpful when quilting bump-back feathers.
Beautiful free motion feathers
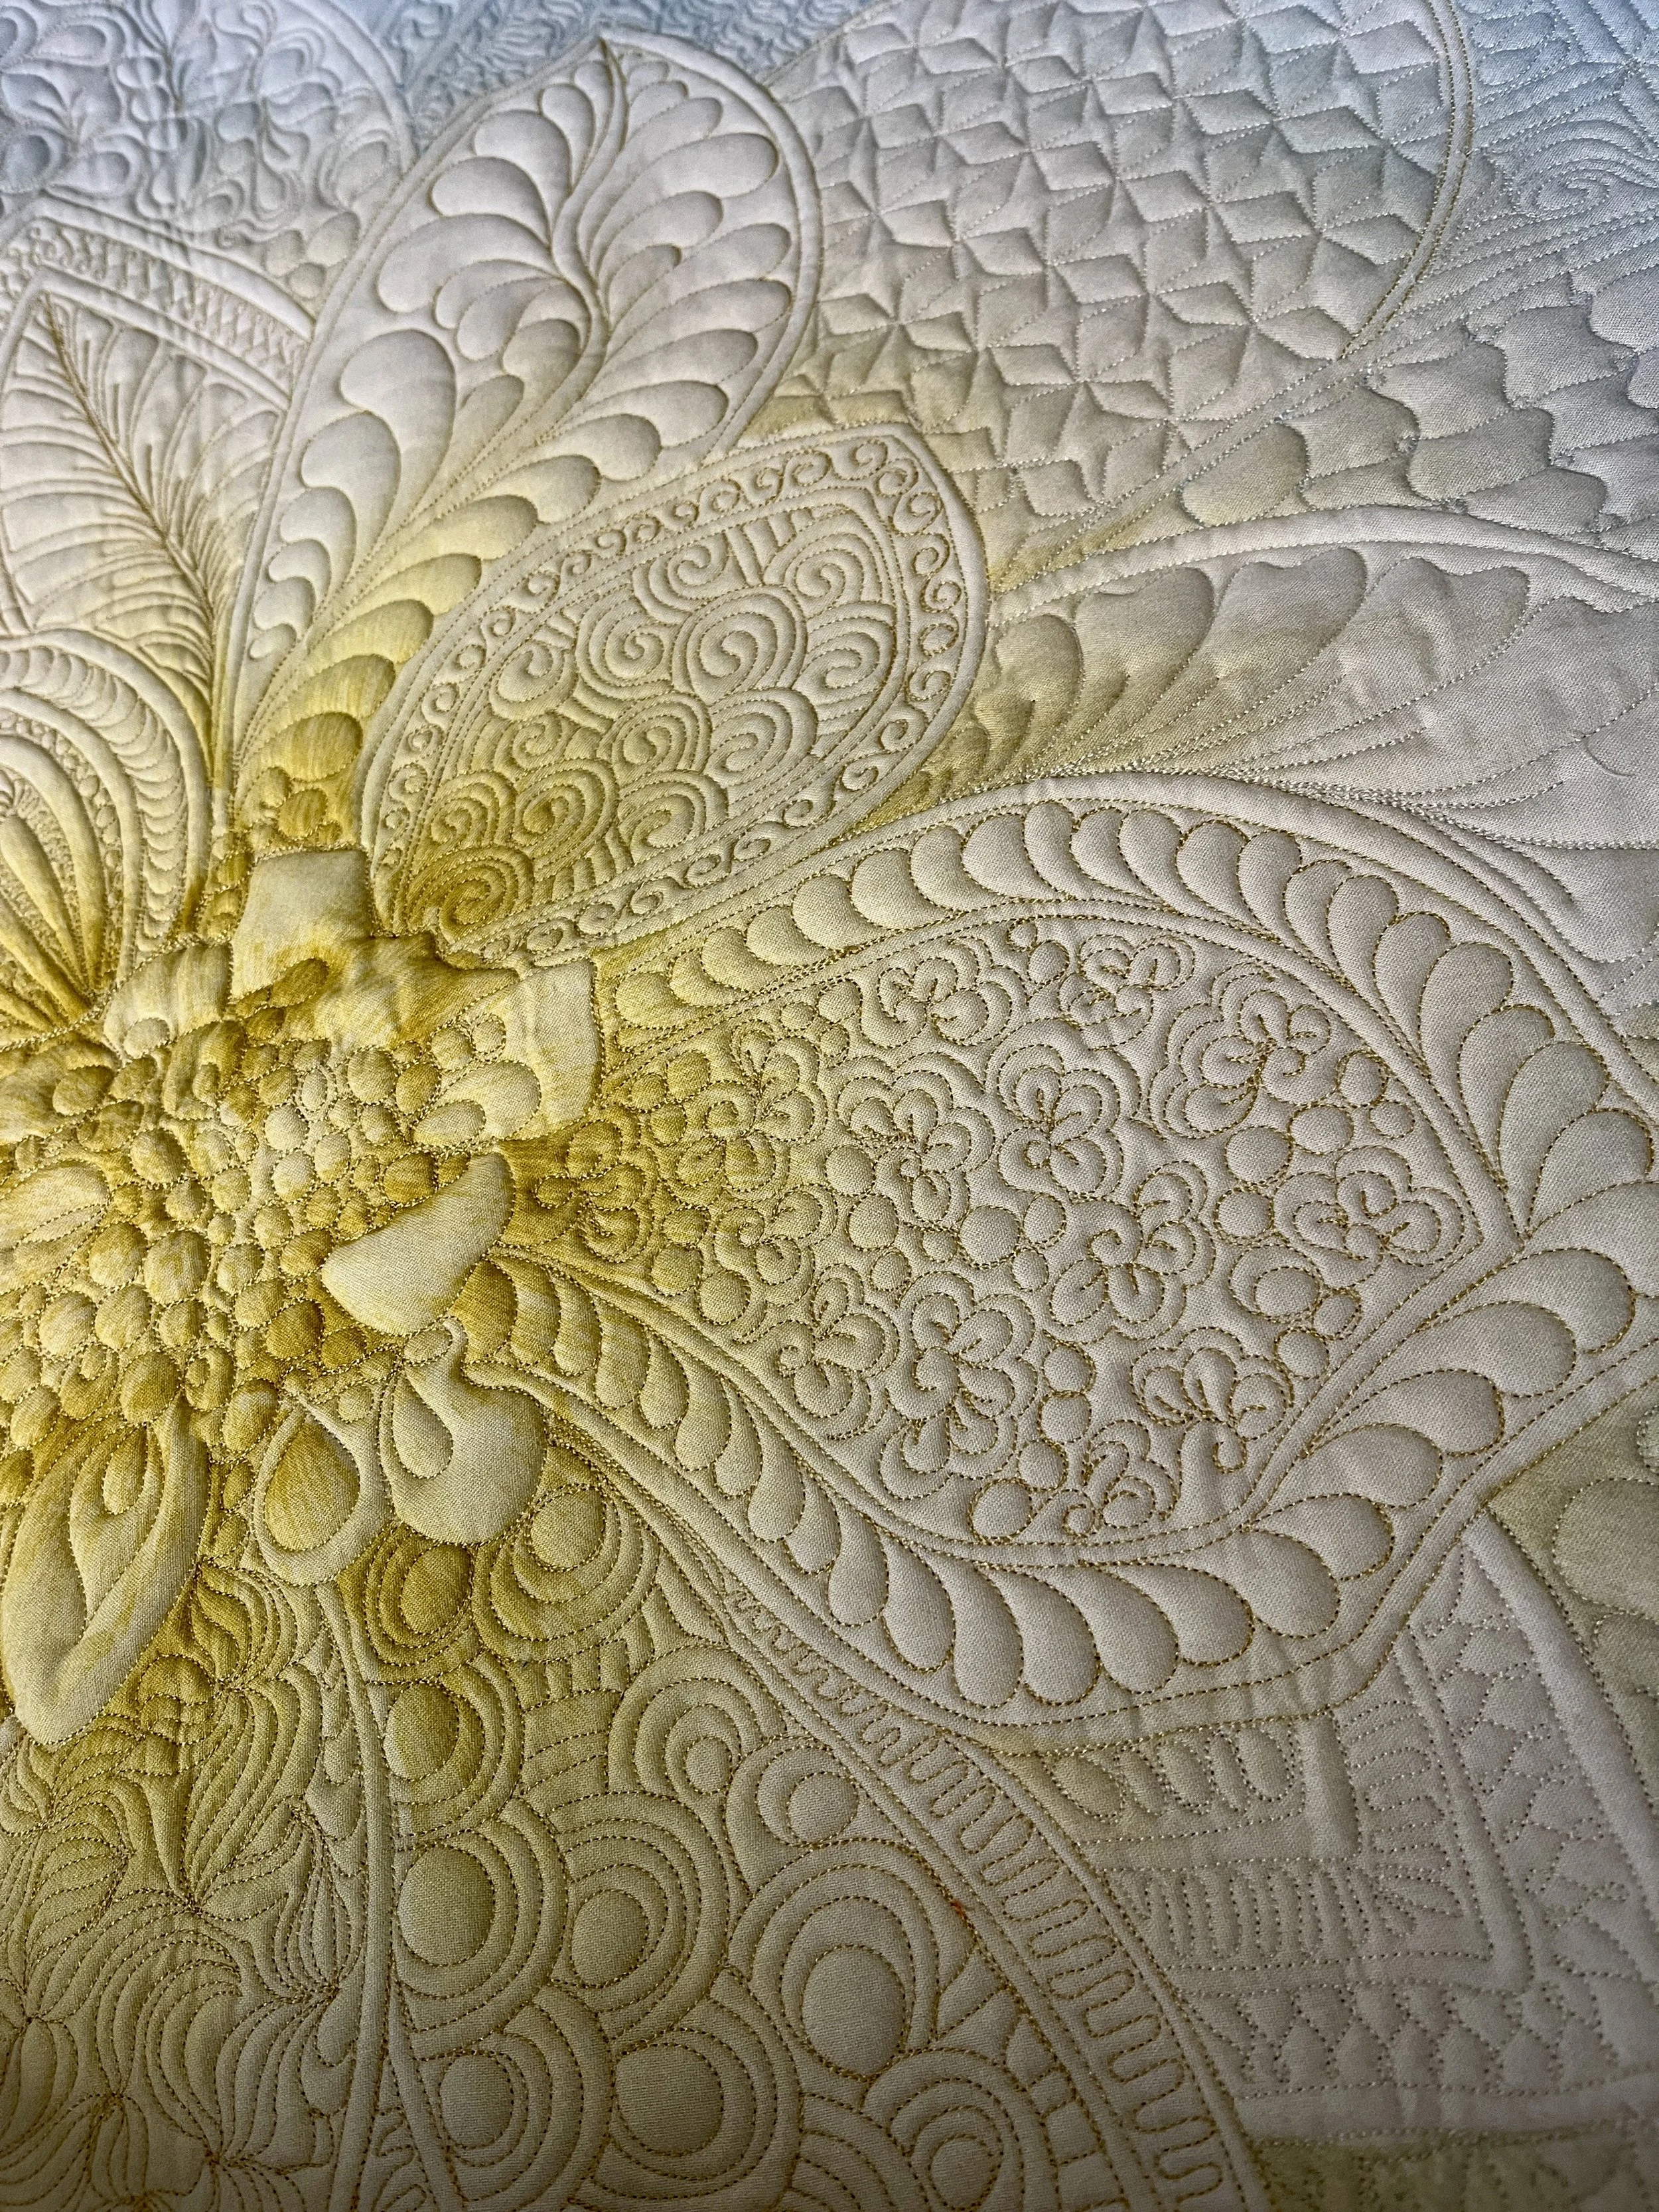
3. Spacing Matters
I believe this is the most crucial element in quilting, as it directly affects the look, texture, and overall quality of your finished quilt. Start with a 1/4" echo around the motifs, repeating it 2-3 times for a polished look. Avoid more than four echoes, as it can appear too plain. If you notice random gaps between motifs, fill them with pebbles or curved lines for added detail.
The swirls are not perfect. But even spacing makes it look balanced.
4. Limit the Quilting Space
When I practice, I prefer a "realistic setting" to mimic the typical quilt top. Most quilts have shapes and closed areas, so why not practice in those conditions? Start by filling a 6"x6" square with one motif at a time, then move to a half-square triangle, and so on. This approach helps you see not only progress but finished results in the common shapes. In fact, Dream Big Panel is a great option for this purpose. Check out this post to check out how to quilt a Dream Big panel. How to Quilt a Dream Big Panel
Dream Big Panel is a perfect project for free motion quilting!
5. Record Your Quilting
Try recording yourself as you quilt. It might sound odd, but trust me—it makes a difference when the camera is on. When I was a music student, I used to experience stage fright and anxiety, and honestly, I feel the same way when I start quilting a new project or a client's quilt. Recording yourself can help you overcome that anxiety, as it encourages focus and builds confidence in your skills over time.
6. Practice for Flexibility, not Perfection
As mentioned earlier, we quilt for a balanced overall look, not for a perfect pebble or feather. Once you're comfortable with a motif and echoes, practice for flexibility. Since free-motion quilting is done by hand, mistakes are inevitable. Instead of ripping out stitches, think about how you can incorporate the mistake into your motif. Remember, even and consistent spacing matters more than a misshaped swirl!
What other tips do you have for beginner quilters? Please share in the comment below!


